How To Install A Wood Shake Roof: DIY Guide for Tulsa Homeowners
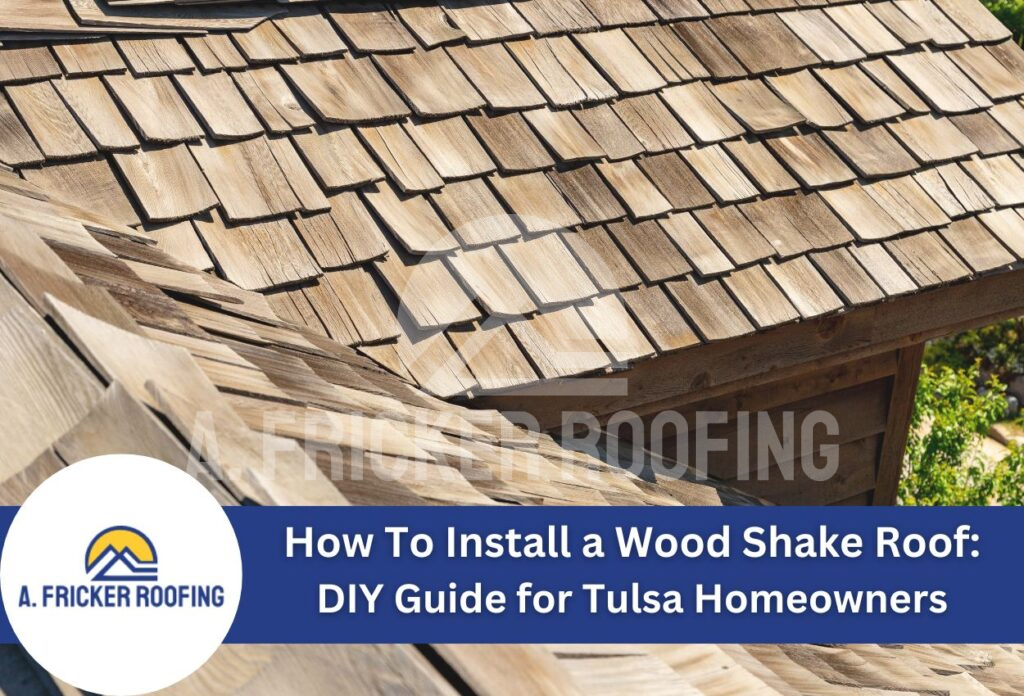
Wood shake is loved for adding a distinct look to the roof of Tulsa homes while providing excellent insulation against seasonal weather conditions. Wood shake roofing systems, particularly cedar, have become increasingly popular among homeowners who appreciate the rustic appeal and long lifespan. With proper installation techniques and quality materials, a wood shake roof can last 30 to 40 years while enhancing your home’s curb appeal and value.
Understanding the step-by-step process of wood shake roof installation empowers Tulsa homeowners to either tackle this project themselves or better communicate with roofing professionals. The installation process requires specific tools, materials, and techniques to ensure the roof is watertight and structurally sound.
From selecting the right grade of wood to understanding proper spacing and nailing patterns, mastering these fundamentals ensures your new roof will stand up to Tulsa’s weather conditions for decades.
Preparing for Your Wood Shake Roofing Project
Before diving into a wood shake roof installation in Tulsa, proper preparation is essential for success. Start with a thorough assessment of your existing roof structure. Check for sagging, damaged rafters, or deteriorated decking that might need to be repaired before installation even starts. Wood shakes add significant weight to your roof, so make sure your structure can support this material. Typically, if a home is built to Tulsa building code standards, it should already be able to handle wood shakes, but older properties may require reinforcement.
Consult Tulsa building codes ahead of time, which often have specific requirements for wood-based roofing systems, including fire-resistant treatments in certain neighborhoods. Most Tulsa jurisdictions require permits for roofing projects, especially when changing roofing materials. Schedule an inspection with local authorities to avoid making expensive corrections later.
Creating a comprehensive materials list is your next critical step. Measure your roof carefully, calculating the square footage while accounting for valleys, ridges, and hips. For wood shake roofing materials, add 15% to 20% extra to account for waste from cutting, damaged shakes, and mistakes. Your materials list should include cedar shakes, underlayment, drip edges, ridge caps, corrosion-resistant roofing nails, and ventilation components..
Essential Tools and Materials for Wood Shake Installation
Installing wood shake roofing systems requires specific tools and materials to ensure a professional result that can withstand Oklahoma’s challenging weather conditions. For Tulsa homeowners considering this project, having the right equipment is just as important as proper technique.
Begin by gathering safety gear:
- Sturdy non-slip footwear
- Gloves
- Eye protection
- Safety harness
Other specialized tools needed include a roofing hatchet with a gauging notch for proper shake spacing, tin snips for cutting underlayment, a chalk line for marking straight courses, a utility knife with spare blades, and a nail gun to speed up installation. A felt hammer also helps smooth underlayment down without tearing, while spacing gauges help you keep consistent exposure between shake rows, which is critical for both appearance and weather resistance.
When selecting cedar shakes for your Tulsa home, you should know the difference between different wood grades. Premium and #1 grade cedar offers the highest quality and longest lifespan, ideal for Oklahoma’s climate extremes. Choose shakes with a thickness of at least 1/2 inch for durability. Cedar shakes come in different cuts as well, such as hand-split, taper-split, and straight-split, each providing a different appearance and performance level. Look for shakes treated with fire-retardant and preservative solutions that extend lifespan while improving safety.
Creating the Proper Roof Foundation
A successful wood shake roof begins with a properly prepared foundation. Start by inspecting your existing roof deck for any damaged or rotting plywood, which must be replaced before installation begins. For Tulsa homes, the minimum recommended roof deck thickness is 1/2-inch for either plywood or OSB board, properly secured to the rafters with appropriate fasteners. Ensure the sheathing is dry and clean before proceeding with underlayment application.
Proper ventilation is crucial in Oklahoma’s humid climate. Install ridge vents and soffit vents to create a continuous flow of air that prevents moisture accumulation under your wood shakes, which could lead to premature deterioration. For every 300 square feet of attic space, include at least one square foot of ventilation to maintain good-quality conditions beneath your wood shake roof.
The underlayment serves as a critical moisture barrier. In Tulsa’s harsh climate, start with a layer of #30 asphalt-saturated felt paper, overlapping each sheet by at least 4 inches on the horizontal seams and 6 inches on vertical seams. Along the eaves and rakes, install an ice and water shield roofing membrane extending at least 24 inches past the exterior walls to prevent leaks during heavy Oklahoma thunderstorms. Each row of underlayment should be secured with corrosion-resistant fasteners, placed approximately 12 inches apart.
In roof valleys, where there is a large amount of water that flows through during rainfall, an enhanced waterproof system can be created by installing an additional layer of roofing felt or a peel-and-stick ice and water shield. or specialized valley underlayment. This extra protection helps channel water effectively off your roof, protecting your Tulsa home during severe weather events.
Mastering the Wood Shake Installation Technique
Installing wood shakes requires precision and attention to detail to achieve professional results that stand up to Tulsa’s weather challenges. Begin each course along the eaves, working your way up toward the ridge. Proper spacing between individual shakes is crucial, as you want to allow for natural expansion and contraction during Oklahoma’s seasonal temperature changes. This spacing also provides essential drainage channels for rainwater.
For professional-looking results, use chalk lines to mark straight courses across your roof. Snap these lines at intervals matching your desired exposure (typically 5 to 7 inches for standard shakes). These guidelines keep the rows of wood shakes perfectly horizontal across the entire roof plane. When installing shakes, stagger the joints between consecutive courses by at least 1.5 inches to prevent water infiltration and create a more visually pleasing pattern.
When making sure they are securely attached to the roof, place two nails per shake, positioned approximately 3/4 inch from each edge and 1 to 2 inches above the exposure line. Never nail through overlapping shakes, as this creates potential leak points. For enhanced wind resistance, consider using ring-shank nails, which provide superior holding power during Oklahoma’s severe weather events.
Handling Special Areas and Details
Successfully installing wood shakes requires extra care when approaching special spots that are most vulnerable to leaks. Valleys, where two roof planes meet, need particular attention during cedar shake installation. Begin by laying a 36-inch-wide strip of #30 felt underlayment centered in the valley, followed by metal flashing to cover the valley. When installing shakes near valleys, cut them at an angle that follows the valley line, rather than placing them perpendicular to it. Leave a 2-inch gap between shakes from opposing roof planes to create a clear drainage channel.
For dormers and chimneys, step flashing is essential. Install L-shaped metal flashing pieces that alternate with each course of wood shakes, extending at least 4 inches up the vertical surface and 4 inches onto the roof. When installing around chimneys, complete the weatherproofing with counter flashing embedded into the chimney mortar joints. This double-flashing system creates a virtually leakproof seal even during Tulsa’s heaviest downpours.
Creating attractive ridge caps finishes your wood shake roof with both function and style. Try to choose straight-grained, knot-free shakes for ridge caps, as these pieces face the harshest weather exposure. Alternate the overlap direction of ridge cap pieces, securing each with two nails positioned to be covered by the next cap. This overlapping pattern ensures water resistance while creating a uniform, finished appearance that enhances your home’s architectural character.
Maintaining Your New Wood Shake Roof
A properly maintained wood shake roof can last decades in Tulsa’s climate, but it requires consistent care to reach its full potential. Establish a bi-annual inspection schedule — typically in spring and fall — to catch minor issues before they become expensive problems. During these inspections, clear away accumulated leaves, pine needles, and debris that can trap moisture against the shakes. You should also check for any cracked, curled, or missing wood shakes that need immediate replacement to prevent leaks into your home’s structure.
Apply a quality wood preservative treatment every 5 to 7 years to protect your cedar shakes from Oklahoma’s strong UV exposure and moisture fluctuations. These treatments contain water repellents, UV inhibitors, and fungicides that extend your wood shakes considerably. For the best results, schedule repetitive applications during dry weather when shakes are thoroughly dry. Keep trees trimmed away from your roof to reduce shade and moisture retention, allowing natural sunlight and airflow to help dry your wood shakes after rain.
When addressing minor leaks, avoid using standard roofing cement or silicone caulking, as these products can trap moisture within the wood. Instead, carefully replace damaged individual shakes by splitting them with a chisel and carefully removing them without disturbing the surrounding shakes. Install new shakes of matching thickness and cut, securing them with corrosion-resistant nails. For maximum durability in Tulsa’s varying climate, only make repairs when shakes are completely dry to prevent sealing in moisture that leads to premature deterioration.
Trust A. Fricker Roofing & Waterproofing for Expert Wood Shake Installation in Tulsa
Ready to elevate your home’s charm and durability with a new wood shake roof? While DIY guides like this can provide great insights, the complexity of proper installation demands expert hands, especially to withstand Tulsa’s unique climate.
Our team at A. Fricker Roofing and Waterproofing specializes in high-quality wood shake roof installation, ensuring your roof is not only beautiful but also built to last. Don’t risk your home’s protection with a DIY project, instead, rely on our skilled professionals who bring years of experience to every job.
Call A. Fricker Roofing and Waterproofing today at 918-342-2222 to schedule a consultation and see how we can transform your home with a stunning, durable new roof. Don’t wait, secure your home’s future with professional wood shake roof installation from the experts who care.
Related Articles
-
 May 22, 2023How Much Does a Cedar Shake Roof Installation Cost In Tulsa, OK?Tulsa is a picturesque city in Oklahoma with beautiful houses that exude natural beauty. One of the reasons responsible for such appealing homes is cedar shake roofs. This exquisite roofing material has become a desired choice among homeowners, not just for its stunning aesthetics but also for its remarkable durability and insulation properties. However, before […]
 -
 July 10, 2024Everything You Need to Know About Wood Shake RoofsAre you considering installing a wood shake roof on your home or office? Wood shake roofs can be an incredible choice for your home’s aesthetics and functionality if maintained and installed correctly. If you are looking to install a wood shake roof, this blog post can help. In this comprehensive guide, we will discuss wood […]
 -
 March 16, 2026Do Cedar Shakes Get Moldy? Prevention and Removal GuideDo cedar shakes get moldy? Learn why mold forms on cedar roofs, how to catch it early, and proven ways to protect your investment.
Protect Your Home with Expert Roofing
Don’t wait for leaks or storm damage to cause costly repairs. Our experienced roofing team provides fast, reliable service, high-quality materials, and lasting results. Ensure your home stays safe, secure, and looking great—contact us today for a free estimate.