A roof leak can be a homeowner’s worst nightmare, especially in emergency situations where professional help is not immediately available. Water damage caused by a leaky roof can lead to structural damage, mold growth, and a host of other problems if left untreated. Knowing what to do when faced with a roof leak can help prevent further damage and save you time and money.
In this blog post, we will guide you through the steps to take for a DIY emergency roof leak repair until the professionals arrive. We’ll cover how to identify the source of the leak, patch the leak, and provide additional tips and precautions that you need to keep in mind in these dire situations.
So, whether you’re dealing with a minor leak or a major emergency, read on to learn what you can do to protect your home until help arrives.
Why Is A Leaking Roof An Emergency?
Roof leaks are one of the most common problems that you will face with your roof. Leaks can occur for several reasons, but it usually occurs when a rainstorm or windstorm damages your roof.
The amount of damage that a leaking roof can cause varies depending on several factors. Since leaks occur frequently, many homeowners only consider them to be a minor inconvenience, but that is where things go wrong.
Though a roof leak can seem like a small problem at first, it can cause an emergency. Therefore you must give immediate attention to this roofing problem and stop it before it causes significant damage to your home.
Tips To Follow During a Roofing Emergency
Emergencies are unpredictable, and a roof leak can happen at any time, requiring immediate action to prevent further damage to your home. Although it’s crucial to contact a professional roofing contractor as soon as you can, there are several helpful tips you can follow in the meantime.
Step 1: Start Inspecting The Interior
The first step in DIY emergency roof leak repair is to identify the source of the roof leak. A leak can start in different areas of a roof and can also spread quickly. This makes it important to find the exact spot where the leak started.
Here are some signs that you need to look for:
Water Stains on the Ceiling or Walls
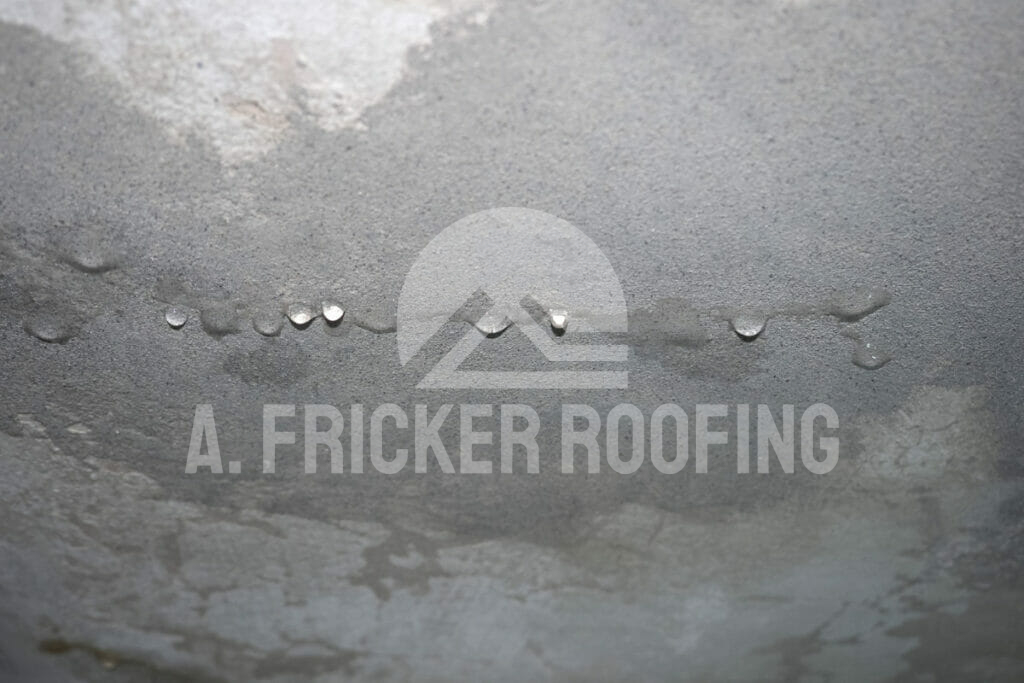
This is often the most noticeable sign of a leak. Look for yellow or brown stains on the ceiling or walls, which can indicate that water is seeping through the roof.
Dampness Or Moisture
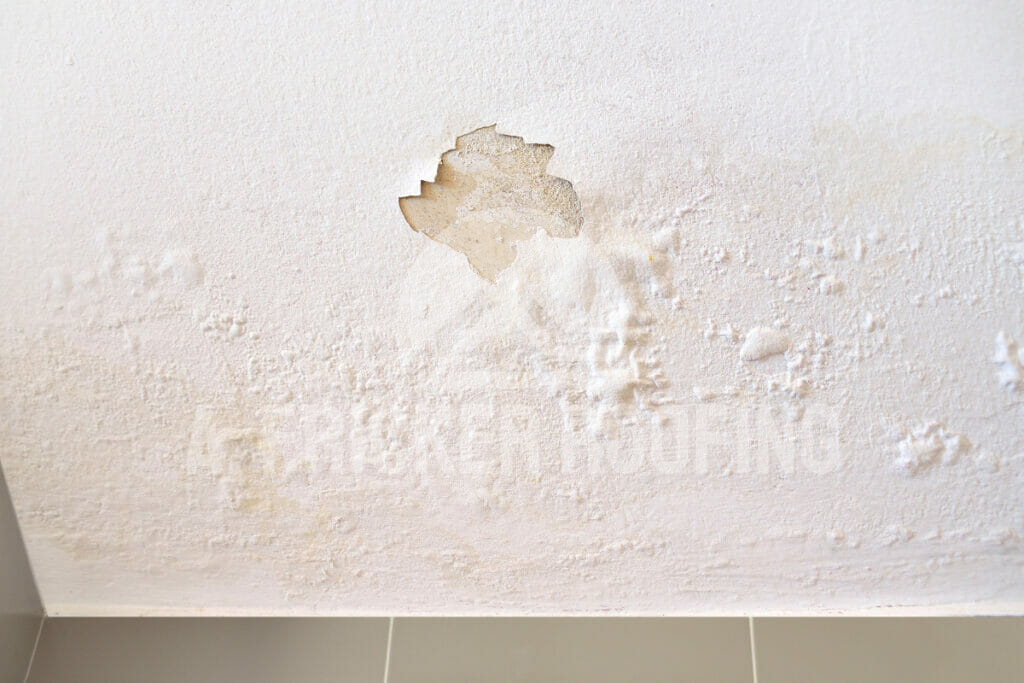
If you notice dampness or moisture in the attic or around the roofline, it could be a sign of a leak. Check for mold, mildew, or rot, which can also indicate a problem.
Step 2: Move Outside To Inspect The Roof
Once you have taken care of the inside, it’s important to inspect the roof from the outside to identify any visible damage. However, if there has been a recent storm, it’s important to wait for it to pass before attempting to inspect the roof.
Carefully inspect the roofing system from a distance. Any major damage will be easily noticeable from the ground, Next, move towards the roof to get a closer look. Be sure to take safety precautions when inspecting your roof. Wear shoes with good traction, and use a sturdy ladder to climb up to the roof. However, note that this is not advisable if you have a steeper roof. So be sure and move ahead only if you know what you are doing.
Once you are on the roof, check for the following signs:
Missing or Damaged Shingles
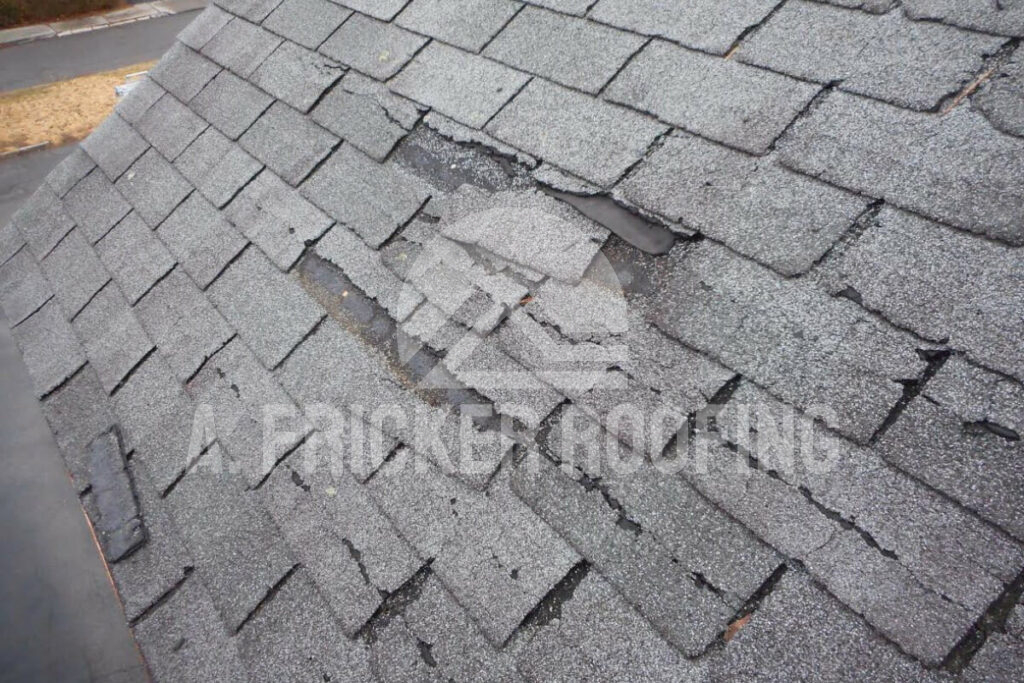
If you notice any missing or damaged shingles on your roof, it’s important to address the issue promptly. Damaged shingles can allow water to seep into the roof, causing a leak.
Cracks or Holes
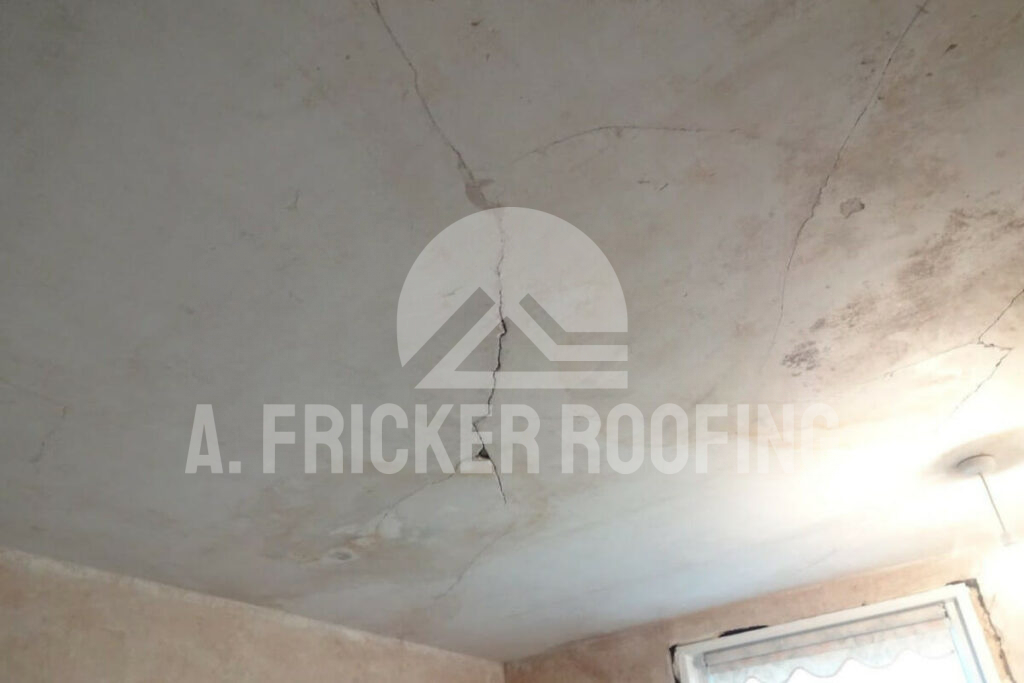
Any cracks or holes in the roof will allow water to enter. Check for damage around vents, chimneys, and skylights, as these areas are especially vulnerable to leaks.
Damaged Flashing
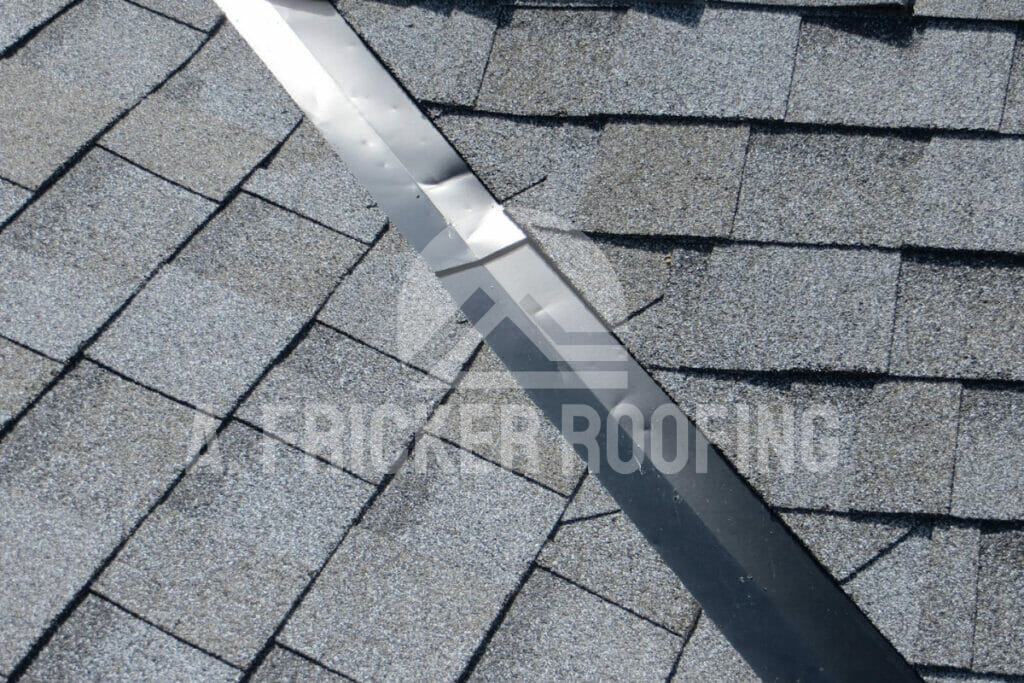
Flashing is the material used to seal the edges and seams of your roof. Inspect the roof flashing for damage or signs of wear and tear.
By identifying the source of the leak, you’ll be able to focus your repair efforts on the area that needs it the most.
Step #3: Use A Roof Tarp
If you have identified a roof leak and are waiting for a professional roofing contractor to arrive or are planning to repair the leak yourself, using a roof tarp can be a temporary solution to prevent further damage.
Tarps can be an effective cover for your roof till you get the necessary help. To install a tarp, move to the area where you see missing or damaged roofing shingles. Place a tarp over the affected area. Make sure that the tarp covers the entire area of damage and extends at least a few feet on all sides. To secure the tarp, place bricks or heavy boards along its edges to hold it down. Then, use roofing nails to fasten the tarp to the roof. Drive the nails through the tarp and into the roof, ensuring they are spaced at least one foot apart for optimal stability.
Step #4 Document The Damage
When you assess a leaking roof or the related damage that comes with it, it’s essential to document the damage as soon as possible. Documentation involves taking photos or videos of the roof damage. This can be helpful when you’re providing proof of the extent of damage to your insurance company and your roofing contractor. Having visual documentation of the damage can help you explain the situation to a roofing professional, making it easier for them to assess the damage and provide an accurate estimate for repairs.
When documenting the damage, be sure to take clear photos or videos of the affected areas from multiple angles.
Stay Away From DIY Dangers: Why Contacting A Roofing Professional Is Important
While DIY emergency roof leak repair can help mitigate the damage caused by a leaky roof, it is important to understand that this is only a temporary fix. In most cases, a roof leak is a symptom of a larger issue that requires professional attention. An experienced roofing professional will be able to identify the root cause of the leak and provide a long-term solution to prevent further damage.
Furthermore, attempting to repair a roof leak without proper training and equipment can be dangerous, particularly for those without experience working at steep heights. Professional roofing contractors have the knowledge and experience needed to safely and effectively repair a leaky roof, minimizing the risk of injury or accidents.
Also Read: 7 Best Storm Roofing Companies in Tulsa, OK
A. Fricker Roofing and Waterproofing: Your Solution To Emergency Roof Leaks
During times of emergency, it is important to have the right roofing company by your side.
If you’re facing an emergency roof situation in Broken Arrow or the surrounding areas, don’t hesitate to contact A. Fricker Roofing and Waterproofing for professional and reliable services. Our team of experienced roofing contractors offers the best emergency roof repair service in the area. We’ll provide you with an accurate estimate and repair the damage efficiently and effectively. Call us today at (918) 402-7167 to learn more.
