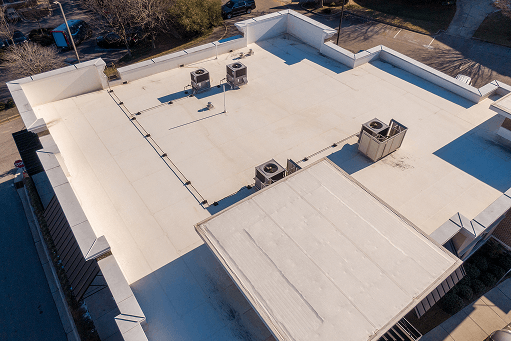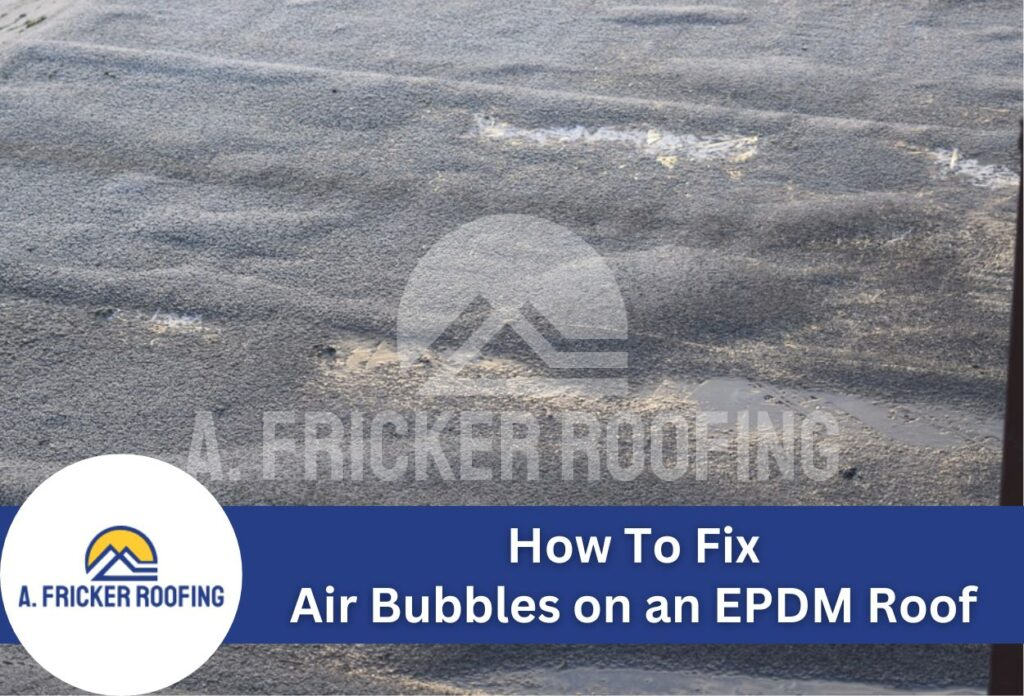
Air bubbles on EPDM roofs are more than just an eyesore — they are a serious threat to your roof’s integrity and performance. These bubbles, also known as blisters or air pockets, form when moisture or air becomes trapped between the rubber membrane and the substrate below. When left untreated, these bubbles can expand, creating weak points, tears, leaks, and water damage that can compromise your entire roofing system.
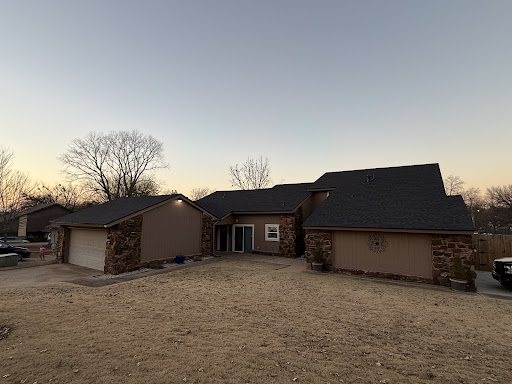
When Tulsa homeowners or property managers notice these telltale bubbles on their rubber roofs, immediate action is necessary. The good news is that EPDM membrane roof bubble repair ranges from simple DIY solutions to professional interventions depending on the severity of the issue.
Understanding how to remove air pockets from rubber roofing membranes starts with identifying the problem, followed by preparation, repair, and preventative maintenance. Effective flat roof blister repair techniques not only take care of current issues but also extend the life of your EPDM roofing system. With the right EPDM roof maintenance and bubble prevention strategies, you can protect your investment and avoid premature replacements.
This guide to rubber roof bubble fixes will walk you through each step of the process, so you can easily tackle this common flat roof challenge.
Understanding Why Bubbles Form in EPDM Rubber Roofs
Bubbles in EPDM roofs don’t appear randomly, they develop due to specific conditions. The primary culprit is moisture that becomes trapped during installation or infiltrates later. As this moisture heats up on sunny Tulsa days, it vaporizes and expands, creating pressure that pushes the membrane upward into visible bubbles. Poor installation techniques that trap air pockets or fail to properly adhere the membrane are equally common causes.
Temperature fluctuations also contribute to bubble formation. Oklahoma’s extreme weather shifts cause the roofing materials to expand and contract repeatedly, eventually creating separation between the membrane and adhesive. Additionally, adhesive failure can occur as materials age, with bonding agents deteriorating over time and losing their grip.
Several situations increase your bubble risk substantially. Tulsa’s severe weather patterns, with intense summer heat followed by freezing winters, create ideal conditions for EPDM membrane separation. Improper installation techniques, like insufficient rolling or applying adhesive during inappropriate weather conditions, virtually guarantee future bubble problems. Aging EPDM roofing systems become increasingly vulnerable as materials naturally degrade over time.
Understanding why these bubbles form helps you identify potential problems early and implement preventative measures before serious EPDM roof damage occurs. Recognizing these warning signs can save Tulsa property owners significant repair costs.
Tools and Materials Needed for EPDM Roof Bubble Repair
Successfully fixing air bubbles on an EPDM roof requires having the right tools and materials on hand before you begin. For EPDM membrane roof bubble repair, you’ll need a utility knife with replacement blades for clean cuts, a roller for ensuring proper adhesion, and cleaning supplies including a push broom, roof cleaner, and clean rags. A moisture meter can find wet areas beneath bubbles, while scissors, measuring tape, and chalk assist with precise patching.
Safety equipment is non-negotiable: gloves protect hands from adhesives, safety glasses shield eyes, and knee pads provide comfort during extended repair work. For larger repairs, consider a roof-specific respirator when working with certain adhesives in confined spaces.
When selecting repair materials, compatibility with your existing EPDM system is crucial. Choose EPDM patching material that matches your current roof membrane thickness (typically 45 or 60-mil). The adhesive must be specifically formulated for EPDM because standard construction adhesives won’t create proper bonds. Look for lap sealant designed to waterproof seams and patch edges.
In Tulsa, repair materials must withstand extreme temperature fluctuations, UV exposure, and occasional hail. Quality materials may cost more initially, but provide superior performance and longevity, reducing the likelihood of repeat repairs to remove air pockets from your rubber roofing system.
Step-by-Step Bubble Removal and Repair Process
Addressing air bubbles in your EPDM roof requires methodical work to ensure lasting repairs. Begin by thoroughly cleaning the affected area using a mild detergent solution and a soft bristle brush to remove dirt, debris, and oils that could prevent proper adhesion. Make sure the surface is dry before moving on to the next step. Keep in mind that Tulsa’s humidity can extend drying times, so patience is essential.
For small bubbles (under 3 inches), use a small utility knife to create a cross-shaped incision in the center of the bubble. Gently press out trapped air or moisture, then clean the underside of the membrane and substrate. Apply EPDM adhesive beneath the flaps, press down firmly, and roll with a hand roller to ensure complete contact. Seal the incision with lap caulk to prevent water infiltration.
For larger bubbles or blisters, a different approach is necessary. Cut around the perimeter of the bubble, removing the damaged section entirely. Clean the exposed area thoroughly, then cut a replacement patch from matching EPDM material, extending at least 3 inches beyond the damaged area on all sides. Apply adhesive to both the roof substrate and patch underside, allow to become tacky, then carefully position the patch. Roll thoroughly from the center outward to eliminate air pockets, then apply lap sealant around all edges.
For extremely large bubbles or extensively damaged areas, professional intervention from a qualified Tulsa roofing contractor is recommended to ensure structural integrity isn’t compromised. These significant repairs often require specialized equipment and expertise to execute properly.
Professional vs. DIY Approaches: When to Call Tulsa Roofing Experts
While some EPDM roof bubble repairs can be completed by homeowners, others require professional expertise. Simple, isolated bubbles smaller than 3 inches on a relatively new roof typically make good DIY candidates. These minor repairs often need just basic tools and materials available at local hardware stores. However, multiple bubbles, those larger than 6 inches, or bubbles that refill after repair indicate more serious underlying problems that need professional attention.
When deciding between DIY and professional repair, consider your roof’s age first. EPDM roofs approaching 15 years old may need a comprehensive assessment rather than spot repairs. The extent of damage matters too — widespread bubbling often signals systemic issues that DIY methods can’t adequately address. Warranty considerations are also crucial. Improper DIY repairs can void manufacturer warranties, leaving you completely unprotected against future problems.
The risks of improper repairs cannot be overstated. Amateur repairs might temporarily mask symptoms while allowing water infiltration to continue, potentially causing structural damage, mold growth, and insulation deterioration. Tulsa’s extreme weather shifts from intense summer heat to winter freezes amplify these risks, as improperly repaired sections become vulnerable points during severe weather.
Experienced Tulsa roofing contractors bring specialized knowledge of local weather patterns and building codes, ensuring repairs not only fix current bubbles but also address underlying causes to prevent recurrence and extend your roof’s lifespan.
Preventative Maintenance to Avoid Future EPDM Roof Bubbles
Keeping your EPDM roof bubble-free requires consistent attention and care. Following a proactive maintenance schedule can significantly extend your rubber roof’s lifespan and prevent future repairs. The key to effective EPDM roof maintenance and bubble prevention lies in early detection and quick response to potential issues.
Start by conducting thorough seasonal inspections. Schedule spring inspections after winter’s freeze-thaw cycles and fall inspections before winter arrives. During these checks, pay special attention to seams, flashing, and areas around roof penetrations where water might infiltrate. Look for early signs of adhesive failure, minor separations, or small bubbles that could develop into larger blisters.
Drainage is essential for preventing moisture accumulation that leads to bubble formation. Regularly clear debris from drains, scuppers, and gutters, especially after storms. Consider installing additional drainage solutions if ponding water persists for more than 48 hours. Trim overhanging tree branches that could damage your EPDM membrane during Tulsa’s frequent windstorms or drop debris that retains moisture against the roof surface.
For optimal long-term performance, schedule professional inspections every year. Experienced Tulsa roofing contractors can identify potential issues invisible to untrained eyes and recommend preventative measures specific to your roof’s condition and our local climate challenges. With proper care, your EPDM roof can remain bubble-free and functional for decades.
Extending Your EPDM Roof’s Lifespan After Bubble Repair
Successfully repairing bubbles in your EPDM roof is just the beginning of ensuring long-term performance. To maximize your investment and prevent future issues, protective treatments and ongoing care are essential. Protective coatings specifically designed for EPDM roofs create an additional barrier against Oklahoma’s harsh UV radiation, extreme temperature fluctuations, and occasional hailstorms that plague the Tulsa area.
Acrylic elastomeric coatings provide excellent UV protection and improve your roof’s reflectivity, potentially leading to lower cooling costs during Tulsa’s scorching summers, while silicone coatings have superior resistance to ponding water. These protective layers can extend your EPDM roof’s service life by 5 to 10 years when properly applied to clean, repaired surfaces.
After bubble repair, it’s important to consistently monitor the previously affected areas. Quarterly inspections should include checking repaired sections for any signs of renewed separation, capturing issues before they develop into full-blown bubbles. Take photographs to document changes over time, particularly after extreme weather that stresses your roofing system.
Incorporate these inspections into a comprehensive maintenance routine that includes keeping the membrane clean, ensuring drains remain unclogged, and repairing damage immediately. Consider scheduling professional evaluations annually with a trusted Tulsa roofing contractor who understands the specific challenges EPDM roofs face in our region. They can spot potential problems that might otherwise go unnoticed until significant damage occurs.
Trust A. Fricker Roofing & Waterproofing for Expert EPDM Roof Repairs in Tulsa
Do you have air bubbles on your EPDM roof? These bubbles can weaken your roof’s integrity and lead to serious damage if not addressed. At A. Fricker Roofing & Waterproofing, we specialize in identifying and fixing air bubbles on EPDM roofs, ensuring your building remains safe and secure. Using industry-leading techniques and materials suited for Tulsa’s unique weather conditions, our skilled team can extend the lifespan of your roof and prevent future problems.
Don’t wait until it’s too late! Call us at (918) 402-7167 for a professional assessment and tailored EPDM roof repairs. A. Fricker Roofing & Waterproofing is your trusted partner in maintaining a durable and reliable roof.
Related Articles
-
 April 7, 2026How to Spot Wind Damage on Your Oklahoma EPDM RoofIs your EPDM roof damaged by wind? Discover the key warning signs in Oklahoma and learn how to prevent costly repairs with our expert guide.
 -
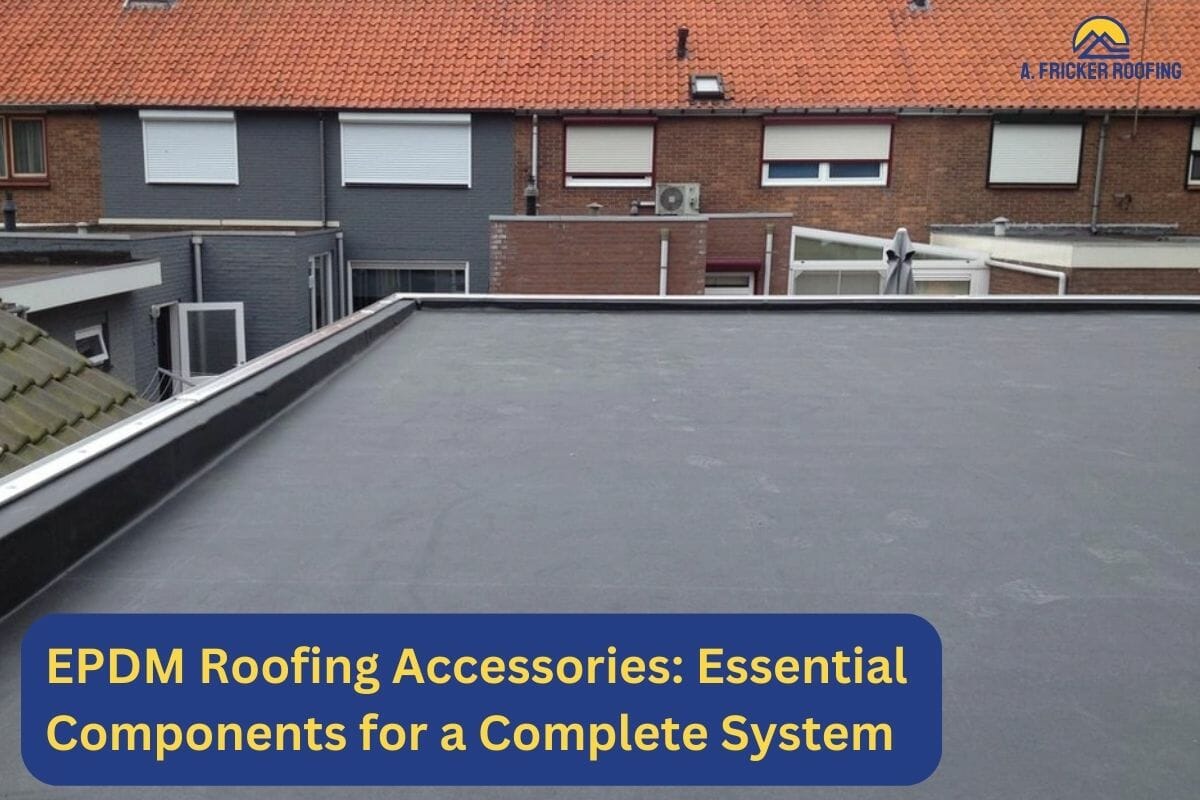 July 24, 2023EPDM Roofing Accessories: Essential Components for a Complete SystemEPDM roofing systems have gained a well-deserved reputation as reliable and durable solutions for both residential and commercial buildings. This rubber-based roofing material offers exceptional resistance to weather elements and can withstand years of exposure without significant deterioration. However, to ensure the longevity and maximize the benefits of an EPDM roof, it’s crucial to consider […]
 -
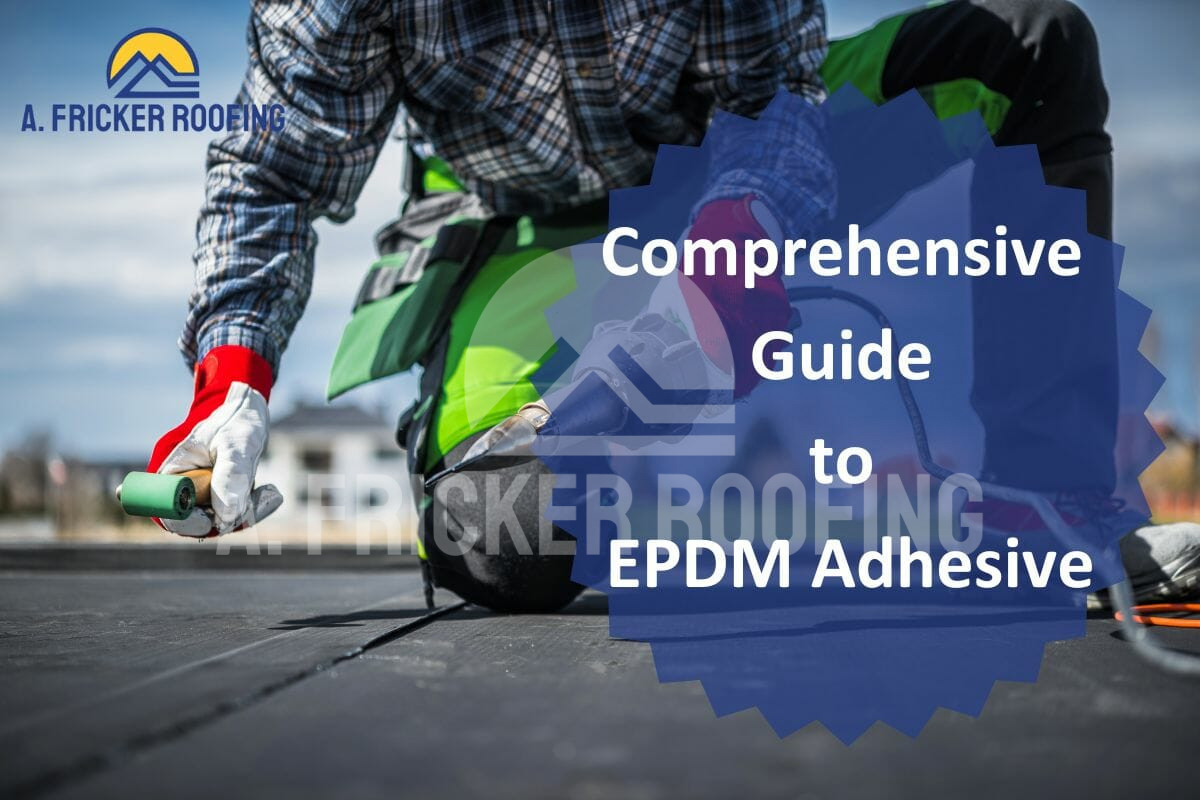 July 23, 2023A Comprehensive Guide to EPDM Adhesive: Types, Application, and BenefitsAre you looking for EPDM adhesives for your flat roof replacement? You’ve come to the right place. Before looking into EPDM adhesives, you must first have an understanding of EPDM roofs. EPDM roofing systems are a popular choice for flat roofs in various industries due to their durability, longevity, and cost-effectiveness. This synthetic rubber membrane […]
Protect Your Home with Expert Roofing
Don’t wait for leaks or storm damage to cause costly repairs. Our experienced roofing team provides fast, reliable service, high-quality materials, and lasting results. Ensure your home stays safe, secure, and looking great—contact us today for a free estimate.