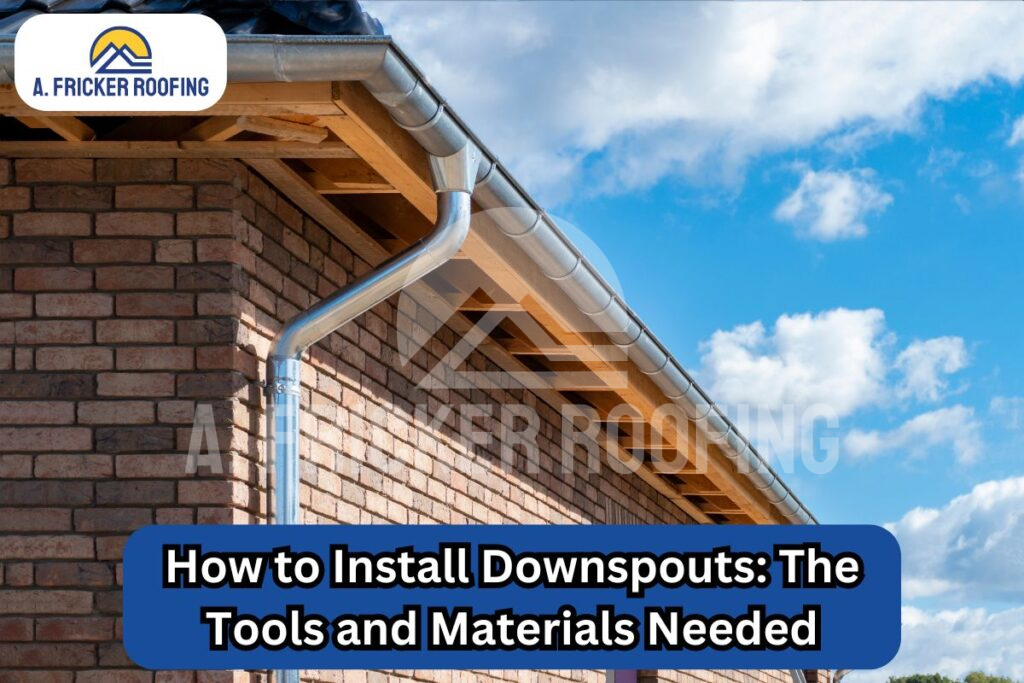
There’s no doubt that gutters are a crucial, if not the main part of a home’s drainage system. However, gutters are not the only part that helps. To work effectively and pass the water away from your property, you also need downspouts.
Installing downspouts is a straightforward yet essential home improvement task. Proper downspout installation ensures that rainwater is effectively channeled away from your home’s foundation, preventing water damage and expensive repairs. In this blog post, we’ll walk you through the process of installing downspouts, and even include a detailed list of tools and materials you’ll need.
Important Parts Of The Gutter/Downspout System
Downspout Sections
These are the long, vertical pipes that run from the gutter channels to the ground. Downspout sections are typically made of aluminum, vinyl, or copper and come in various lengths. They are the primary way that water travels down from the roof.
Elbows
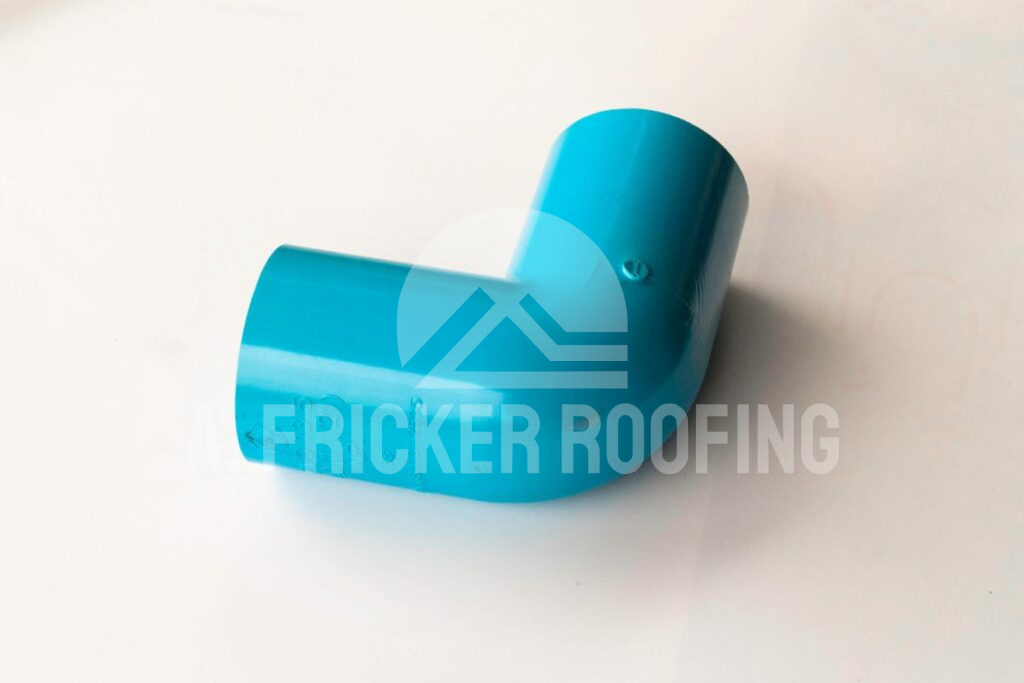
Elbows are angled pieces that connect the downspout sections to the gutter. They change the direction of the water flow, allowing the downspout to follow the contours of your home.
Downspout Brackets or Straps
These are metal or plastic bands that secure the gutter downspout to the exterior wall of your home. Brackets or straps prevent the downspout from shifting or coming loose, ensuring that it stays firmly in place, even during heavy rain or wind.
Splash Blocks or Downspout Extensions
These components are placed at the bottom of the downspout, where the water exits. A splash block is a sloped block that directs water away from your foundation, while a downspout extension is a horizontal pipe used in place of a splash block to carry water further away from the house.
How Do You Install A Downspout?
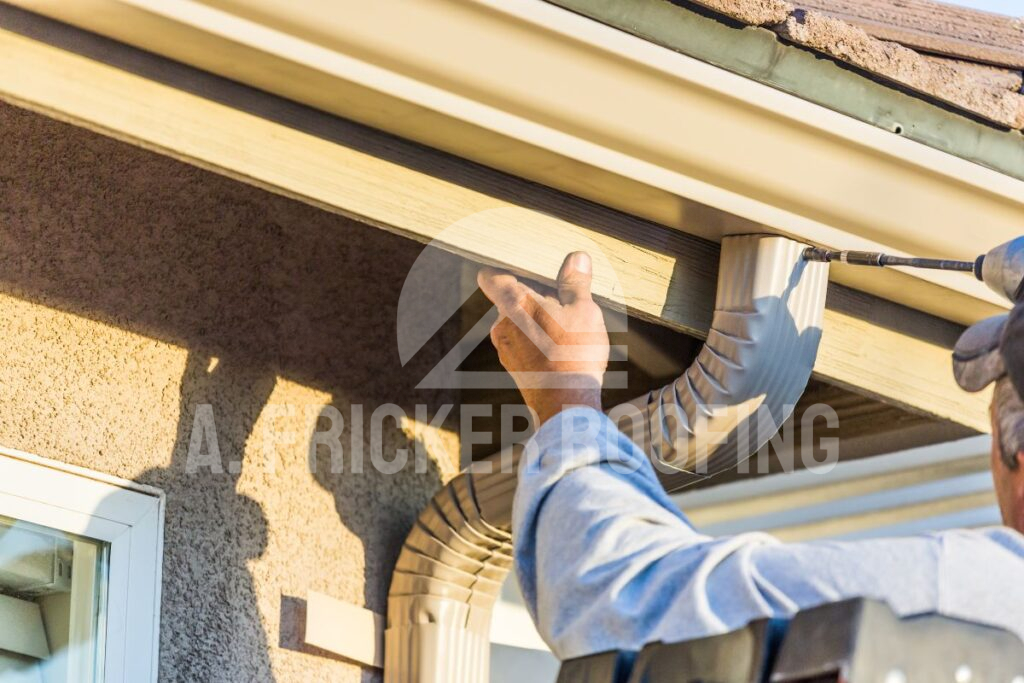
Now that you have a better idea of the parts of an effective drainage system, here’s how you can install a downspout onto your gutter system.
Tools and Materials Needed for Downspout Installation
Installing downspouts requires some basic tools and materials. Here’s what you’ll need:
Tools:
- Tape Measure: To measure the length of the downspout and the distance from the gutter to the ground
- Tin Snips: For cutting the downspout and gutter pieces to the desired length
- Screwdriver or Drill: To secure the downspout to the gutter and wall
- Level: Ensures that the gutter downspout is straight and aligned properly
- Caulking Gun: To apply sealant where necessary
- Pliers: Useful for bending or adjusting the downspout and elbows
- Hacksaw (Optional): If you need to cut thicker pieces of metal
Step 1: Plan The Layout Of Your Downspouts
Before cutting or assembling anything, assess the layout of your home and gutters. The number of downspouts you’ll need will depend on the size of your home and the average amount of rainfall your area receives. A general rule to follow is to install at least one downspout for every 40 feet of gutters.
Once you know how many downspouts you’ll need, determine where they will be placed. Ideally, they should be positioned along the corners of your home or wherever the roofline changes direction. At this time. use the tape measure to determine the length of the downspout from the gutter to the ground. Remember to account a few extra inches in order to accommodate the elbow that will connect the downspout to the gutter.
Step 2: Cut the Downspout and Prepare the Elbows
Cut to size: Start by cutting your gutter downspout to the appropriate length using tin snips. Measure from the gutter to the ground and cut accordingly, leaving a little extra length if needed for adjustments. Ensure your cuts are straight and clean, especially if you’re working with metal downspouts. For thicker materials, you may find a hacksaw more effective.
Understanding and Preparing the Elbows:
Elbows are crucial components that you’ll use to guide the downspout from the gutter down the side of your home. These L-shaped pieces are available in two options: A type and B Type. These are installed at both the top and bottom of the downspout to change the direction of water flow.
Elbows come in different angles, typically 45 and 90 degrees, to accommodate the design of your home and gutter system.
Prepare the elbows:
Once you’ve chosen the appropriate elbows, measure and cut them to fit your downspout if necessary. These pieces should connect snugly to both the gutter outlet and the downspout section.
Step 3: Attach the Downspout and Elbows to the Gutter Channels
Connect The Top Elbow to the Gutter:
Begin by attaching the first elbow to the gutter outlet. This is the spot where the water exits the gutter and enters the downspout. Make sure the elbow fits securely into the outlet. If necessary, use pliers to slightly adjust the shape of the elbow for a snug fit.
Secure With Screws:
Once the elbow is in place, fasten it to the gutter outlet using screws. For metal gutters, you may need to pre-drill holes to avoid damaging the material. Ensure the screws are tightly secured to prevent any leaks or movement.
Attach The Downspout To The Elbow:
Next, slide the downspout section into the top elbow that’s now connected to the gutter. Make sure it aligns appropriately, and then secure it with screws.
Finally, attach the second elbow at the bottom of the downspout. This elbow will direct the water away from your home’s foundation.
Step 4: Secure The Downspout To The Wall
After aligning the downspout, mark the spots where the straps or brackets will be placed. Secure the straps or brackets to the wall with screws, ensuring they are positioned every 10 feet to provide stability. Finally, fasten the downspout to these brackets, making sure it is securely attached and properly aligned.
Step 5: Direct Water Away from the Foundation
Attach a splash block or extension: To prevent water from pooling near your foundation, attach a splash block or downspout extension at the bottom of the downspout. This will direct the water away from your home, minimizing the risk of water damage.
At this time you’ll also want to ensure that everything is properly sealed in order to prevent leaks and water damage. Apply sealant around the joints where the downspout connects to the elbows and at the bottom where it exits. This will help prevent leaks and ensure that water flows smoothly through the system.
Also Read: Rain Chains vs. Downspouts: A Comprehensive Guide to Your Choices
Looking For Expert Help? We’re Here For You
While installing downspouts is a manageable DIY project, there are instances when it might be best to call in a professional. If your home has a complex roofline, or if you’re uncomfortable working at heights, it’s best to hire the experts at A. Fricker Roofing & Waterproofing. We offer premier gutter and downspout installation services in Tulsa, and the surrounding areas of Oklahoma. Contact us today at (918) 402-7167 to learn more about how we can help you.
