Windows plays a crucial role in a home’s aesthetic appeal and functionality. However, window flashing, a key component that ensures their longevity and performance, is often overlooked. In this article, we’ll delve into the signs that indicate your window flashing needs to be updated, explore the consequences of neglect, and provide practical steps for both DIY enthusiasts and those choosing professional assistance.
What is Window Flashing?
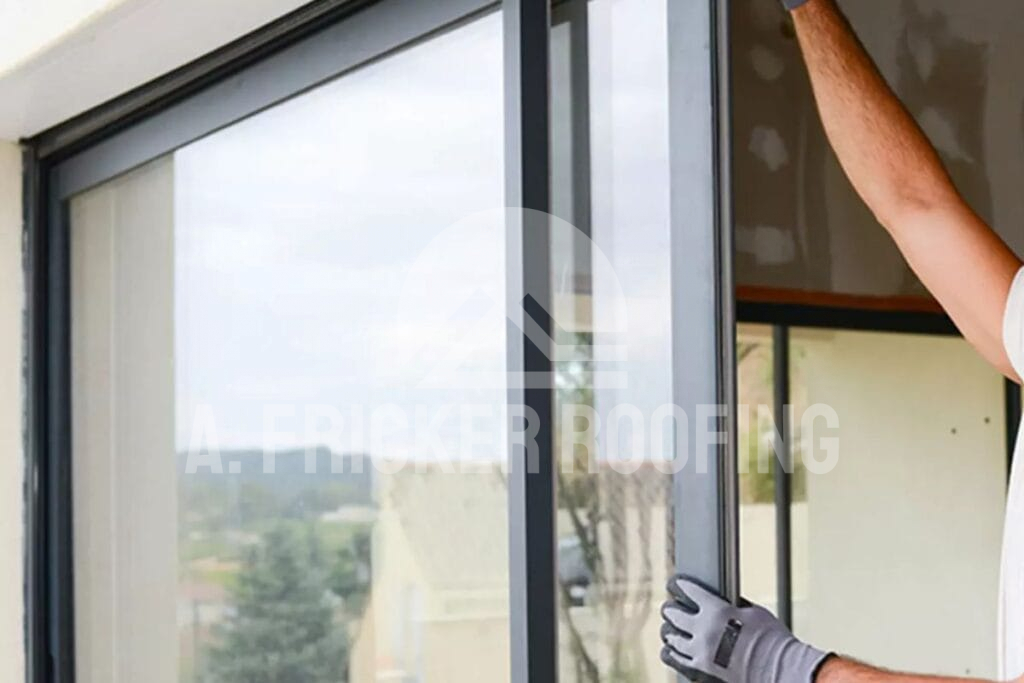
Before we get into the signs that indicate your window flashing is failing, let’s clarify what window flashing is and its primary purpose. Window flashing is a protective barrier installed around windows to prevent water from infiltrating around the space where the window is installed. It actively works to safeguard your home against potential water damage that can lead to expensive repairs.
The Importance of Well-Maintained Window Flashing
Beyond preventing water damage, well-maintained window flashing contributes to energy efficiency and structural stability. A properly functioning window flashing system keeps your home insulated, reduces energy consumption, and enhances the overall comfort of a space. Neglecting this aspect can lead to a domino effect of issues, impacting not only your comfort but your budget as well.
Common Signs That Indicate You Need To Update Window Flashing
1. Water Leaks and Stains
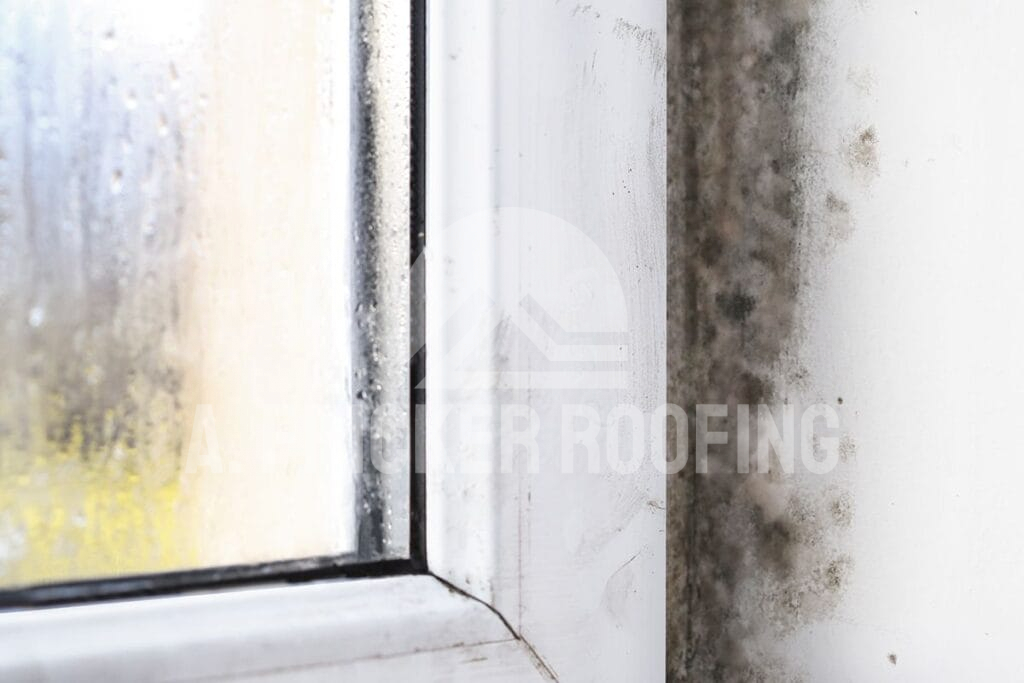
The most obvious sign that your window flashing needs attention is the presence of water leaks or visible stains around your windows. If you notice water seeping in while it rains or see discolored patches on your walls, it’s a clear indication that your window flashing may be compromised.
2. Visible Damage or Deterioration

Take a close look at your window flashing. Any visible signs of damage or deterioration, such as cracks, peeling, or rust, should not be ignored. Damaged flashing can’t provide the protection your home needs, so timely updates are crucial.
3. Drafts and Increased Energy Bills
If you suddenly feel drafts around your windows or notice a spike in your energy bills, your window flashing could be allowing air to leak through. A properly functioning window flashing system is a key player in maintaining your home’s energy efficiency. Addressing this issue can lead to noticeable improvements in comfort and savings.
4. Mold or Mildew Growth
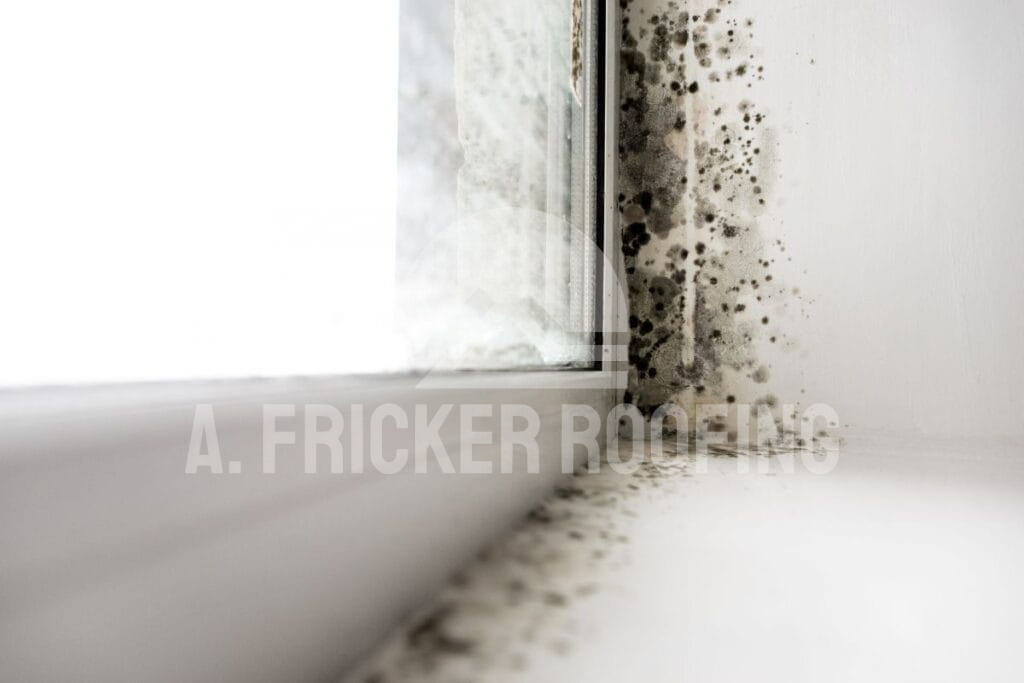
Excess moisture around your windows can lead to the growth of mold or mildew. If you spot these unwelcome guests, it’s a sign that your window flashing might be failing to keep water out. Mold and mildew not only pose health risks, but also indicate potential structural issues.
5. Difficulty in Opening or Closing Windows
Windows should open and close smoothly. If you’re experiencing difficulties, it could be a result of compromised window flashing. The water damage may have affected the functionality of the window frame, making it harder to operate. Addressing the flashing can restore the ease of use.
6. Outdated or Damaged Flashing Materials
If your home has older window flashing materials, or if the existing materials show signs of wear, it’s time to consider an update. Technological advancements have led to more durable and efficient flashing materials. Upgrading can enhance your home’s protection and energy efficiency.
Window Flashing Materials
Before replacing the flashing around your windows, you may want to consider some other material options that will provide you with effective water resistance.
1. Aluminum Flashing
Pros:
Durable and Long-lasting: With excellent corrosion resistance, aluminum flashing can withstand the test of time.
Suitable for Various Climates: Its resilience makes aluminum a good choice in diverse weather conditions.
Cons:
Higher Cost: Aluminum flashing can be more expensive than some alternatives.
Limited Flexibility: Its rigidity may pose challenges, especially its intricate designs.
2. Vinyl Flashing
Pros:
Affordable: Vinyl is a cost-effective option for window flashing.
Lightweight and Easy to Install: Its ease of handling makes it suitable for DIY projects.
Corrosion-resistant: Vinyl is resistant to corrosion and rust.
Cons:
Less Durable: While cost-effective, vinyl may not offer the same durability as some other materials.
Limited Suitability in Extreme Conditions: Extreme weather conditions may impact its performance.
3. Copper Flashing
Pros:
Excellent Corrosion Resistance: Copper boasts exceptional resistance to corrosion.
Long Lifespan: It is known for its longevity.
Aesthetic Appeal: Copper can add an attractive visual element.
Cons:
Higher Upfront Cost: Copper comes with a higher initial investment.
Prone to Theft: Its scrap value may make it a target for theft.
Changes in Appearance: Over time, copper can develop a patina, altering its appearance.
5. Self-Adhesive Flashing Tape
Pros:
Easy Application: No special tools are required, making it suitable for DIY projects.
Tight Seal: It provides a secure and tight seal.
DIY-Friendly: Flashing tape is suitable for homeowners looking to tackle the project themselves.
Cons:
Shorter Lifespan: Compared to some materials, self-adhesive flashing tape may have a shorter lifespan.
Limited Applicability: It may not be suitable for all window designs.
6. Bitumen Flashing
Pros:
Affordable Option: Bitumen is a cost-effective choice.
UV Resistance: It exhibits good resistance to UV rays.
Versatility: It’s suitable for use in various climates.
Cons:
Strong Odor During Installation: The installation process may emit a strong odor.
Prone to Drying Out: Over time, it may become brittle.
How to Replace Window Flashing In Your Home or Office
If you decide that the flashing around your window needs to be repaired, you might decide to DIY the replacement process. Though it’s always better to hire a professional, here is what you can do:
1. Assess the Situation
Before starting, assess the condition of your current window flashing. Look for signs of water damage, visible deterioration, or any other issues that may signal the need for an update.
2. Gather Necessary Tools and Materials
Ensure you have all the tools and materials required for the update:
- New window flashing material: Choose a material suitable for your needs and climate.
- Utility knife or scissors: For precise cutting of the flashing material.
- Caulk gun and sealant: Essential for creating a watertight seal.
- Screwdriver or pry bar: To remove old flashing and lift up the siding material around it.
- Cleaning supplies: Necessary for preparing the area.
3. Remove Siding Around The Window
Once you’ve gotten all your tools together, you’ll want to start the process by carefully removing the siding material that’s around the window. This is important as you cannot reach the flashing until the siding is removed.
4. Remove Old Flashing
Carefully remove the existing flashing using a screwdriver or pry bar. Be cautious to prevent damage to the window frame. Inspect the window frame for any signs of damage and address them before moving forward.
5. Prepare the Area
Clean the area around the window where you just removed the flashing. Ensure that you remove dirt, debris, and any old caulking. A clean surface facilitates better adhesion for the new flashing. Use a mild detergent and water for effective cleaning.
6. Measure and Cut New Flashing
Accurately measure the dimensions of the window frame and cut the new flashing material accordingly. Precisely cut the flashing to ensure a proper fit and complete coverage. Follow the manufacturer’s guidelines for cutting and sizing.
7. Apply the New Flashing
Position the cut flashing over the window frame, ensuring it covers the entire area vulnerable to water infiltration. Utilize the caulk gun to apply a generous layer of sealant along the edges of the flashing, creating a robust, watertight barrier.
8. Secure the Flashing in Place
Secure the flashing in place using appropriate fasteners. The method of attachment may vary depending on the chosen material. Follow the manufacturer’s guidelines for optimal results.
9. Seal Joints and Edges
Enhance the water-resistant barrier by sealing any joints or edges with additional caulk. This extra step provides an additional layer of protection against water intrusion.
10. Test for Effectiveness
After securely installing the new flashing in place, conduct a simple water test. Spray water onto the window and check for any signs of leakage. This step ensures the success of the update, guaranteeing that your window is now well-protected. Once done, replace the siding around your window frame.
Hire Professionals To Replace Your Windows In Your Home or Office In Tulsa, OK
Window replacement isn’t an easy DIY task, especially if you have no prior experience. When you need professionals to take the lead and replace windows in your home or office, consider A. Fricker Roofing and Waterproofing in Tulsa, OK. The professionals at our company are experts in installing and replacing windows of all sizes. Contact us today at (918)-402-7167 and talk to one of our professional window installers about your window flashing issues.
