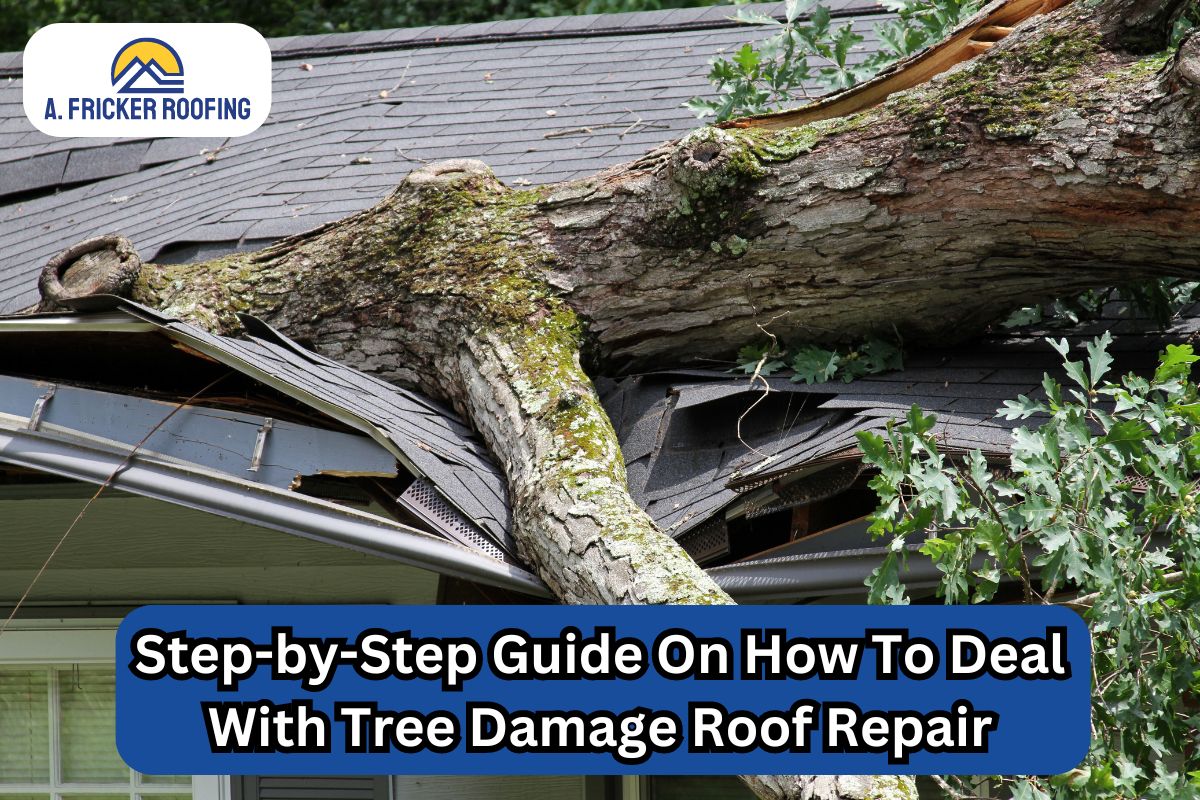
A tree branch—or worse, an entire tree—crashing down onto your home is an alarming situation that leaves you with a lot of problems to solve. One of the obvious things you need to take care of is your roof. The roof is the home’s first line of defense and, more often than not, it’s the first place for a tree or its branches to fall.
In our last blog post, we covered how trees damage your roof. In this article, we will move forward and talk about what you need to do when a tree hits your roof and how to repair the damage.
Keep in mind these steps when you are faced with an emergency.
Step 1: Assess the Tree Damage Safely
First things first, safety is your number one priority. Before you rush out to inspect the damage, take a moment to ensure it’s safe to do so. Tree damage mostly occurs due to wind and storms, so you need to wait for the severe weather to pass first. Assure your family is safe and the things outside are calmer before heading out.
If the tree has affected any power lines or caused electrical damage to your home, turn off your electricity immediately. Water lines should also be checked, as damage to plumbing can cause leaks or flooding.
Once you’re sure it’s safe, take a look at the roof. But remember, you don’t need to climb up there yourself—especially if the damage is severe. A pair of binoculars can help you get a closer look.
Step 2: Document the Tree Damage on the Roof
Once you are out to assess your roof, document the condition of your roofing system. It’s more important than you think! Documenting everything is a must for insurance purposes. You’ll need a clear record of the damage before any cleanup or repairs begin. The more information you provide, the smoother the insurance process will be. Here are some tips:
- Try to capture the damage from multiple angles.
- This includes not just the roof, but also the tree itself and any other parts of your property that were affected.
- Write down details such as the time and date of the incident, weather conditions, and any immediate damage you notice.
Step 3: Contact Your Insurance Provider
Now that you have everything documented, it’s time to call your insurance company. They’ll guide you on what to do next, but here are a few things to keep in mind:
- File a Claim ASAP: The sooner you start the claim process, the quicker you can get things moving. Most insurance companies are pretty responsive when it comes to tree damage, but it’s always good to be proactive.
- Discuss Coverage: Not all homeowner’s insurance policies are the same. Higher coverage comes at a higher cost. Find out what your policy covers in terms of tree removal and roof repair. Some policies might cover the full cost, while others may only cover part of it.
- Meet the Adjuster: The insurance company will likely send an adjuster to inspect the damage. Make sure you’re available to walk through the damage with them and point out anything they might miss.
Step 4: Remove the Tree (or Debris)
We advise you to wait until you get the green light from the insurance company before you move forward with repairs. As soon as all the paperwork is done, it’s time to get rid of the debris on your roof. However, be extremely cautious when moving onto the roof as it can be quite risky.
It is recommended to hire a professional instead. Tree removal experts have the right tools and know-how to safely remove the tree without causing further damage to your home. Plus, they can deal with the disposal of the tree, so you don’t have to worry about it.
After the tree is removed, take another look at your roof. Sometimes, damage that was hidden before becomes visible once the debris is gone.
Step 5: Tarp the Roof (If Necessary)
If the damage is extensive and immediate repairs aren’t possible, you’ll need to protect your home from the weather until the roofing company can come to help. A heavy-duty tarp secured tightly over the damaged area can prevent water from getting in and causing further issues. Make sure the tarp extends well beyond the damaged area and is secured to avoid being blown away by the wind.
Step 6: Get a Professional Roof Inspection

With the tree out of the way and your roof temporarily protected, it’s time to call in a roofing professional to assess the damage and give you an estimate for repairs.
- Hire a Trusted Roofing Contractor: Look for a licensed and insured contractor with good reviews. Don’t hesitate to get multiple quotes to ensure you’re getting a fair price.
- Discuss Repair Options: The contractor will let you know whether the damage requires a full roof replacement or just a partial repair.
- Schedule the Repair: Once you’ve agreed on the scope of work, schedule the repair as soon as possible to avoid further complications.
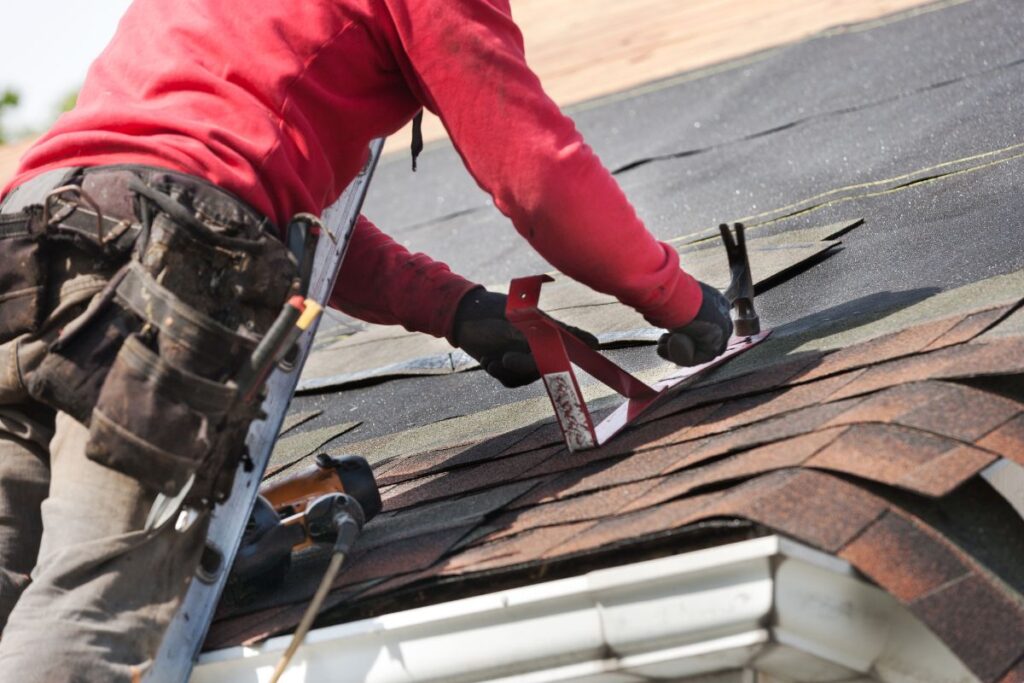
Step 7: Repair the Roof

Now comes the part you’ve been waiting for—getting your roof fixed! Depending on the extent of the damage, how the contractor approaches the repairs will differ.
Full Roof Replacement:
If the damage is severe, your contractor might recommend replacing the entire roof. This is generally the case if a heavy branch caused extensive damage or a tree fell entirely on your roof.
While this is a bigger investment, it can be worth it in the long run, especially if your roof was nearing the end of its lifespan anyway.
Partial Repair:
For less severe issues, a partial roof repair for tree damage might be sufficient. One example is replacing a few shingles that have been damaged due to overhanging branches. Fixing a section of the roof or reinforcing the structure where the tree hit also comes under repairs.
For more information, check out our blog post: Signs Your Roof Needs Replacement After a Storm
Check the Gutters and Flashing:
While the roof is being repaired, have the contractor check the gutters and flashing. These parts of your roof system might have also been damaged. Tree leaves and debris can clog the gutters, causing them to overflow or sag.
Also Read: Does Homeowners Insurance Cover Gutter Damage?
Step 8: Inspect the Interior
With the roof repaired, it’s important to check inside your home for any signs of damage that might have gone unnoticed.
- Look for Water Damage: Check the ceilings and walls for stains, bulges, or discoloration, which could indicate a leak. Don’t forget to inspect the attic as well.
- Check for Structural Issues: If the tree impact was strong, there might be structural damage to your home. Look for cracks in the walls, windows that are difficult to open or close, or doors that don’t seem to fit their frames correctly.
- Get a Professional Inspection If Needed: If you’re unsure about any potential damage, consider hiring a home inspector for a more thorough check.
Has Your Roof Suffered Tree Damage? Contact Us Now!
While it might be tempting to tackle roof repairs on your own, dealing with tree damage is a serious job that requires professional expertise.
At A. Fricker Roofing and Waterproofing, we understand how overwhelming it can be to face unexpected roof repairs due to tree damage, and we’re here to help every step of the way. Our team of experienced roof repair professionals will assess the situation, provide you with a clear plan of action, and ensure your roof is repaired safely and effectively. Don’t risk further damage or injury by trying to do it yourself—give us a call at (918) 402-7167 and let us restore your roof.

