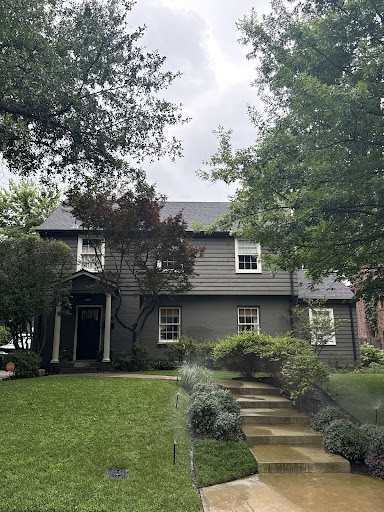
Satellite dishes can be an eyesore, especially if they are of no use or if you bought a home with them pre-installed. Removing a satellite dish can be difficult for homeowners if the mounted system has been directly hinged to the roofing materials.
While removing the satellite dish only requires unscrewing a few bolts and nuts, removing one without care can cause damage to your roof. If you’ve been wondering how to remove a satellite dish from a roof but aren’t sure where to start, this blog post is for you. We will go over the parts of a satellite dish, how to safely remove it, and when to call for professional help.
Is Satellite Dish Removal From A Roof A DIY Project?
When it comes to home renovation or remodeling, some homeowners like to take the lead on the project instead of relying on a professional service. Satellite dish removal can be a DIY process if you have a steady hand, a willingness to learn, and, of course, a secure ladder and the required tools. Otherwise, it is best to call in professionals who can dispose of the satellite dish without throwing it into the landfill. Even if you opt for a DIY removal, you should still contact a professional who can recycle the materials.
The Various Components Of A Satellite Dish
It’s important to understand, apart from the dish itself, what else you need to remove from your roof.
1. The Dish Itself
The dish is the main part of the satellite and is the most noticeable part on your roof. This concave-shaped apparatus is designed to capture signals from satellites and direct them to the receiver. When removing the dish, handle it with care to avoid damage to the disk and the roof.
2. Mounting Bracket

A less noticeable part that provides the necessary support is the mounting bracket. This often attaches the dish securely to the roof. If you choose to remove the satellite dish yourself, your main job involves loosening the bolts and nuts that keep this bracket in place.
3. LNB (Low-Noise Block Downconverter)

LNB is the translator of satellite waves. It sits on the dish’s arm and converts the received signals into a form that your satellite receiver understands. Before lifting the dish off, disconnect any cables attached to the LNB.
4. Cables and Wiring
No satellite dish operates in isolation, and understanding the significance of cables and connectors is essential. Satellite dishes come with a network of cables and wiring that connect various components. Identifying and carefully disconnecting these cables is a crucial step. A systematic approach here prevents confusion and ensures a smoother removal process.
5. Bolts and Nuts
These little but mighty components secure the dish, bracket, and other parts together. Armed with a reliable wrench and screwdriver set, your task is to loosen and remove them.
Tools Required For Satellite Dish Removal
Before jumping into the removal process, make sure you have the correct tools.
1. Ladder:
A sturdy ladder is essential to reach the place on the roof where the satellite dish is mounted. Make sure it’s in good condition and placed on a level surface.
2. Wrench or Screwdriver:
Depending on the type of screws used to secure your satellite dish, you’ll need a wrench or screwdriver. Have both on hand to cater to different screw types.
3. Cable Cutters:
To disconnect the cables from the satellite dish, you will need cable cutters to separate wires from the satellite. Ensure they’re suitable for cutting through different cable thicknesses.
4. Gloves:
Protect your hands with sturdy gloves, especially if you encounter sharp edges or debris during the removal.
5. Roofing Sealant:
After removing the satellite dish, you’ll likely have holes from the mounting bracket on your roof. Roofing sealants, such as silicone or tar, will help patch these up, preventing leaks. You can choose from our list of the best roof sealants.
How To Remove A Satellite Dish From A Roof: A Step By Step Guide
Remember, safety first. If you aren’t confident in the removal process or don’t have the necessary tools, it’s best to contact a professional.
1. Turn Off Power and Disconnect Cables
Start by making sure the dish is not connected to a power source. Once you have climbed to the roof, remove all wires from the satellite dish. Use cable cutters if needed. Label each wire to make their removal easier.
2. Loosen Mounting Bracket Screws
Use a wrench or screwdriver to loosen the screws on the mounting bracket. If nuts are present, use a socket set. Take your time and ensure each screw is sufficiently loosened.
3. Unmount the Dish
Once the screws are loose, gently lift the dish off the mounting bracket. If the dish wobbles, stabilize it with one hand while continuing to unscrew with the other. Put the dish somewhere on the roof surface without damaging it or the roofing materials or hand it to someone on the ground.
4. Lift and Remove the Footplate
Lifting and removing the footplate is one of the risky tasks, so you should perform it cautiously. Any negligence will disrupt the roofing shingles, and since the footplate is directly hinged to the roof. Gently lift the footplate off the roof. Be cautious not to damage the roof or any surrounding structures during this process.
5. Inspect the Roof
After removing, check the roof for any damage. If you notice cracks or other issues, consider consulting a professional roofer. Minor damages can often be addressed with DIY solutions.
6. Patch Holes with Roofing Sealant
It’s important to fill the holes that are left after removing the mounted system or the satellite footplate. Make sure to choose a sealant suitable for your roof material to prevent leaks.
a. How To Seal The Holes Left Behind
Firstly, clean the area around by removing the dust and any debris. Apply the sealant on the target area with a putty knife or applicator. Ensure that the sealant covers the holes completely and creates a watertight barrier. After applying the sealant, smooth out the patch to create an even surface. Let the area dry completely.
How Much Does It Cost To Remove A Satellite Dish From The Roof?
DIY satellite dish removal may not cost you that much, but if you want a professional to come, remove, and dispose of your satellite dish, you will have to pay for labor and disposal.
Professional removal services can range from $80 to $500, considering labor, equipment, the location of the dish, and any additional services.
Contact A. Fricker Roofing and Waterproofing In Tulsa, OK, For Your Roof Repair
If you notice any signs of damage to your roof after removing the satellite dish, don’t delay asking professionals to come and take the lead. Contact A. Fricker Roofing and Waterproofing in Tulsa to repair your roof and any roofing damage that occurs during the process. Call us today at (918) 402-7167.
Related Articles
-
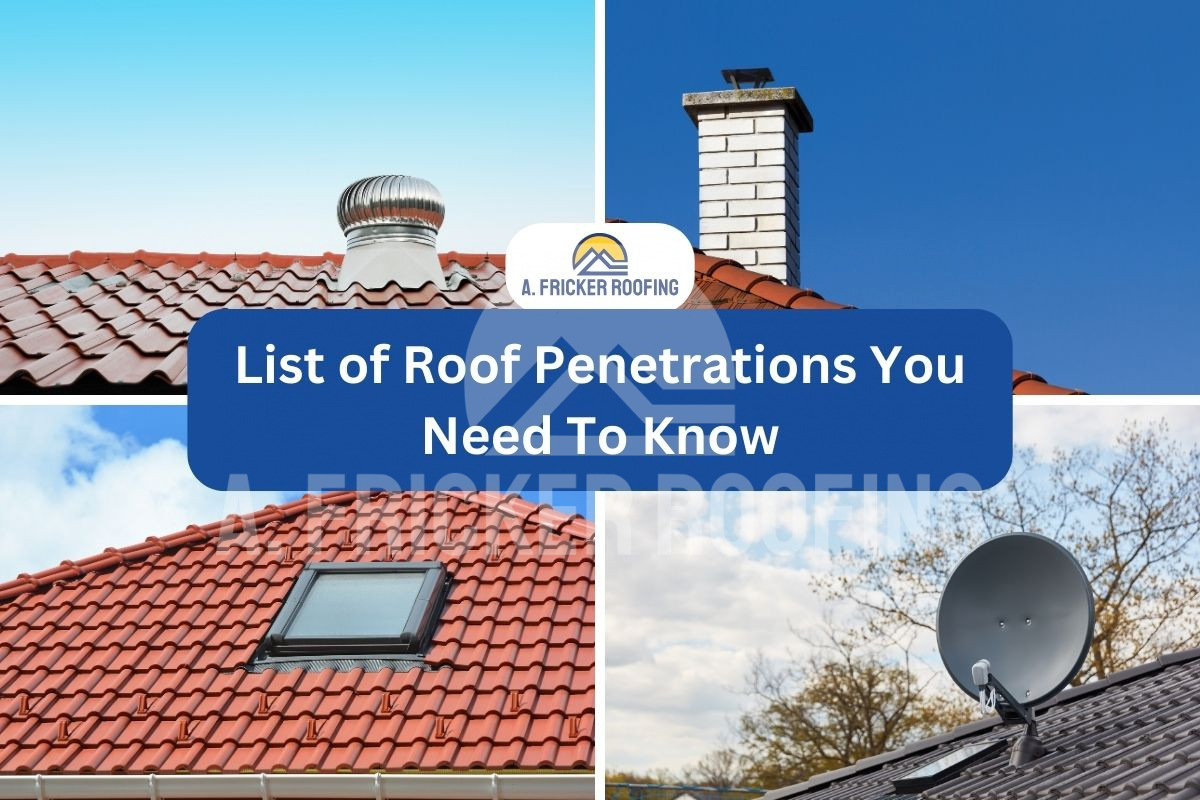 January 28, 2024List of Roof Penetrations You Need To KnowHave you ever wondered what all those boxes and pipes on the surface of your roof are? If yes, then this article is for you. There are many types of roof penetrations that you should be aware of. From chimneys to skylights, vents to HVAC units, each one serves a purpose and plays a crucial […]
 -
 August 26, 2024Different Types of Windows for Your HomeAt A. Fricker Roofing and Waterproofing, we know how important it is to pick the right windows for your home. These windows can make your house look better and work better, too. But as you know, there are a lot of different types of windows, each with their unique appeal and characteristics, and learning about […]
 -
 December 15, 2023How To Easily Remove Mold From Roof ShinglesRemoving mold from your shingle roof may seem like a daunting job to homeowners, however using the right techniques and products can make it a simple and easy task. If you don’t want to see mold or the left behind stains on your roof, this blog post is for you. In this guide, we will […]
Protect Your Home with Expert Roofing
Don’t wait for leaks or storm damage to cause costly repairs. Our experienced roofing team provides fast, reliable service, high-quality materials, and lasting results. Ensure your home stays safe, secure, and looking great—contact us today for a free estimate.