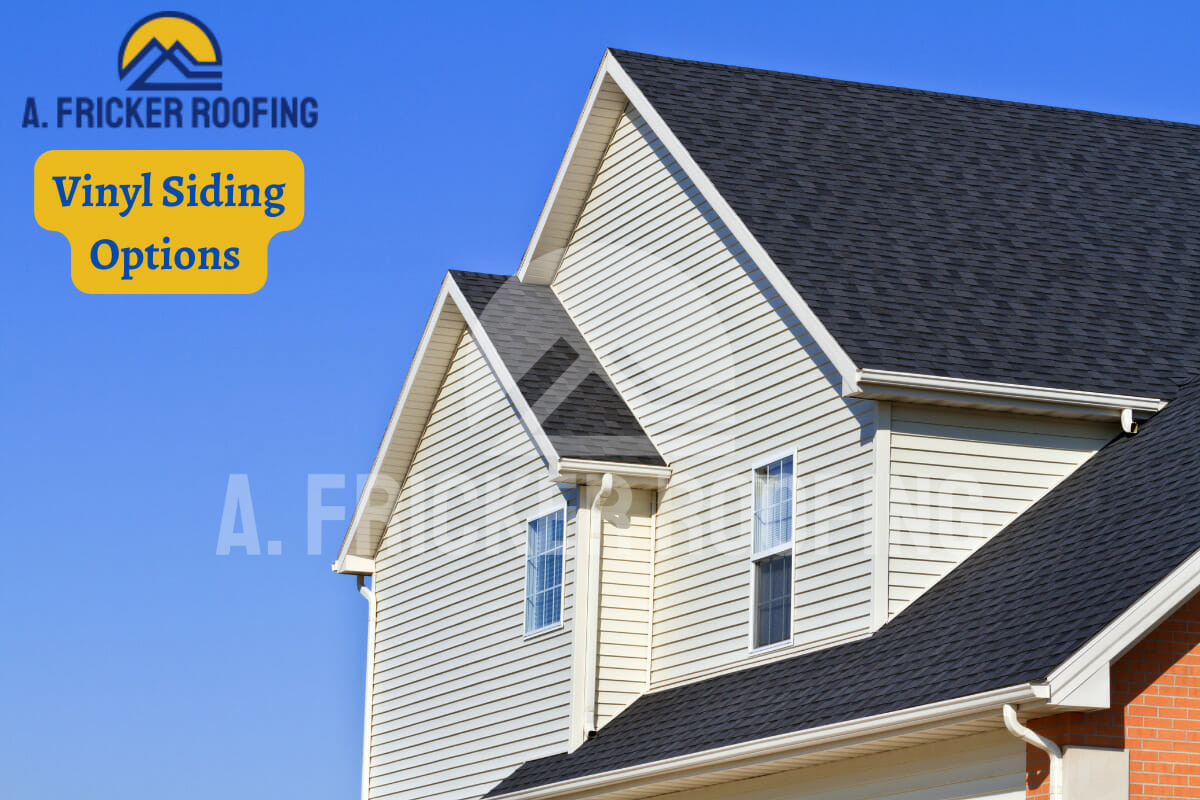
For homeowners looking to install new siding, vinyl siding is often a top option. This popular house siding is low maintenance, weather resistant, and budget-friendly.
But like any part of your home’s exterior, it isn’t invincible. With the unpredictable weather in Oklahoma, over time, you might notice a leak behind or through your vinyl siding.
As a reputable roofing and siding contractor, we often get questions from homeowners like: “How can I fix a vinyl siding leak myself?” or “When do I need a professional?”
We cover these questions and more in the following blog post.
What Causes Vinyl Siding Leaks?

Vinyl siding itself is not completely waterproof, it’s designed to shed water, not seal it out like a roof would. That’s why proper installation, flashing, and house wrap are also necessary.
Here is why your vinyl siding may leak or develop other related issues:
- Cracked or loose panels: Though it doesn’t usually snow in Oklahoma, the state does get its fair share of hailstorms, which can pierce through the siding panels. Debris can also crack panels or pull them loose, letting water in. Even pressure washers can harm your siding.
- Missing flashing: Flashing is a small metal part that seals around windows, doors, and rooflines and helps divert water. Missing or damaged flashing can lead to water finding its way behind the siding.
- Improper installation: If siding was nailed too tightly, without room to expand and contract, it can buckle, creating gaps.
- Gaps around windows or utility penetrations: Small, unsealed gaps around fixtures or trim can lead to water infiltration.
How to Fix Leaks in Vinyl Siding
Step 1: Inspect for Leaks
Before repairing siding, you need to determine where the leaks are in your siding. You may first notice signs like:
- Water stains or bubbling paint on interior walls
- Mold or mildew smells near an exterior wall
- Drips or pooling water in the basement or crawlspace after a storm
To confirm the source, inspect your siding from the outside, ideally during or right after a rainstorm. Look for:
- Warped or buckled siding
- Loose or missing panels
- Cracks near seams, corners, or penetrations
- Gaps around windows, vents, and spigots
If possible, use a hose to simulate rain on specific areas while someone inside watches for leaks. This pinpoint test can help you narrow down the trouble spot.
Step 2: Gather Tools & Materials
If you’re comfortable tackling minor repairs yourself, you’ll need the following:
Tools:
- Zip tool (siding removal tool)
- Pry bar or flathead screwdriver
- Utility knife
- Caulking gun
- Drill or hammer
- Ladder (make sure it’s stable and safely positioned)
Materials:
- Replacement vinyl panel (matching color/style)
- Galvanized nails or corrosion-resistant screws
- Silicone or polyurethane exterior caulk
- Flashing tape (if needed)
Remember, if the leak appears extensive or structural, it’s best to call in a professional contractor, especially one experienced with both siding and roofing. Water doesn’t always travel in a straight line, and a trained eye can spot hidden damage that might otherwise be missed.
Step 3: How to Repair A Minor Siding Leak
Not all siding issues require full panel replacement. In fact, many small leaks, especially those near joints, utility penetrations, or trim, can be handled quickly with simple tools and a little attention to detail.
Clean the Area:
Use a mild detergent and water to clean the area around the crack or gap. Let it dry completely before proceeding. It is important to keep the area clean so that the patch is effective.
Sand the Surface (if necessary)
If the panel is rough, flaking, or the caulk won’t adhere well, lightly sand the area to create a smooth bonding surface. A good quality 220-grit sandpaper will do the job.
Seal the Leak
For small cracks or holes, inject exterior caulk into the gap. Caulking and sealing the area is effective when the damage is minimal. Make sure that you use a good quality sealant, preferably a silicone-based product. Smooth it with your finger or a caulking tool.
Optional: For better results, you can also prime and paint the sealed area. This will help the patch match your siding. Some caulk is paintable, just check the label.
This approach is ideal for preventing water intrusion in subtle problem areas. It’s fast, effective, and a good first defense when you catch the problem early.
Step 4: How To Repair Larger Vinyl Siding Leaks
If your inspection revealed cracked panels or water damage behind the siding, a more thorough fix is needed. Here’s how to proceed when sealing might not be enough.
Remove Damaged Siding
Using a zip tool, hook under the bottom edge of the siding panel above the damaged one. Gently unlock the seam and work horizontally to free the length of the panel. Once the panel is loose, remove nails or screws holding the damaged panel in place.
Be careful not to tear the underlying house wrap, this is your home’s second layer of defense. If the wrap is damaged or wet, you’ll need to dry it out and patch it before reattaching the siding.
Inspect Underneath The Siding Panel
- Is the house wrap wet, moldy, or torn?
- Is there rot or discoloration on the sheathing?
- Is flashing around doors and windows missing or damaged?
That might mean:
- Installing flashing tape around windows or wall penetrations.
- Patching or replacing house wrap.
- Sealing gaps with exterior caulk or foam backer rod.
Install Replacement Panel
Cut the replacement panel and nail the new panel in place, leaving room for expansion. Use the zip tool to re-lock the siding panels together, ensuring they snap securely into place. Don’t nail too tightly, as this can lead to more problems later.
Seal Perimeter Areas
Apply caulk around trim, joints, and penetrations but don’t seal the bottom of siding panels, which are designed to drain.
When to Call a Professional
While many vinyl siding leaks are DIY-friendly, there are situations where you’ll want to partner with a qualified contractor.
- The leak has been ongoing and caused interior damage.
- You find mold or rot behind the siding.
- Multiple panels are warped or cracked.
- You’re unsure about flashing or structural issues.
- The siding is high up or hard to access safely.
A contractor can not only repair the visible damage, but will also make sure your siding, house wrap, and roof all work together to keep your home watertight.
How to Prevent Future Siding Leaks
Prevention is always more affordable than repair. Here’s how you can protect your home moving forward:
- Inspect your siding twice a year, especially after storms.
- Keep gutters clean to prevent overflow behind the siding.
- Check for loose nails, warped panels, or damaged trim.
- Make sure downspouts and drainage systems move water away from your foundation.
If you’re already planning to replace your roof, it’s a great opportunity to evaluate your siding too. Roof and siding systems work hand-in-hand to protect your home from moisture.
Premier Siding Installers In Oklahoma!
Vinyl siding is a great investment but it does require occasional care. Whether you’re dealing with a hairline crack, a gap near a window, or a fully cracked panel, there’s a smart fix for every problem.
If you are not comfortable handling a vinyl siding leak, it is important to hire a professional contractor for vinyl siding leak repair. At A. Fricker Roofing and Waterproofing, we have years of experience installing and repairing vinyl siding.
Contact us today at (918) 402-7167.
Related Articles
-
 December 30, 2022Which Vinyl Siding Brands Make the Cut?The exterior of your home helps people identify your standards of living, and it perfectly reflects your personality through the choices you make. If your home exterior is aesthetically appealing, it helps create a good image of you in a visitor’s mind. Damaged and wet walls of your home not only negatively impact the way […]
 -
 December 22, 202410 Types Of Vinyl Siding (With Best Siding Color Combinations)When it comes to choosing the perfect exterior for your home, vinyl siding is a material that consistently stands out. According to NAHB’s Eye On Housing report, vinyl siding has the second-largest share of the market in 2024, marginally behind stucco. Why is it so popular? It’s affordable, versatile, and built to last — three […]
 -
 January 21, 2023How To Clean Vinyl SidingVinyl siding is a great way to add curb appeal to your home and protect it from the elements. It’s lightweight, easy to install, and very durable. Due to these reasons, this type of siding still remains the first choice among homeowners. However, vinyl siding can become dirty or damaged from the sun and weather […]
Protect Your Home with Expert Roofing
Don’t wait for leaks or storm damage to cause costly repairs. Our experienced roofing team provides fast, reliable service, high-quality materials, and lasting results. Ensure your home stays safe, secure, and looking great—contact us today for a free estimate.