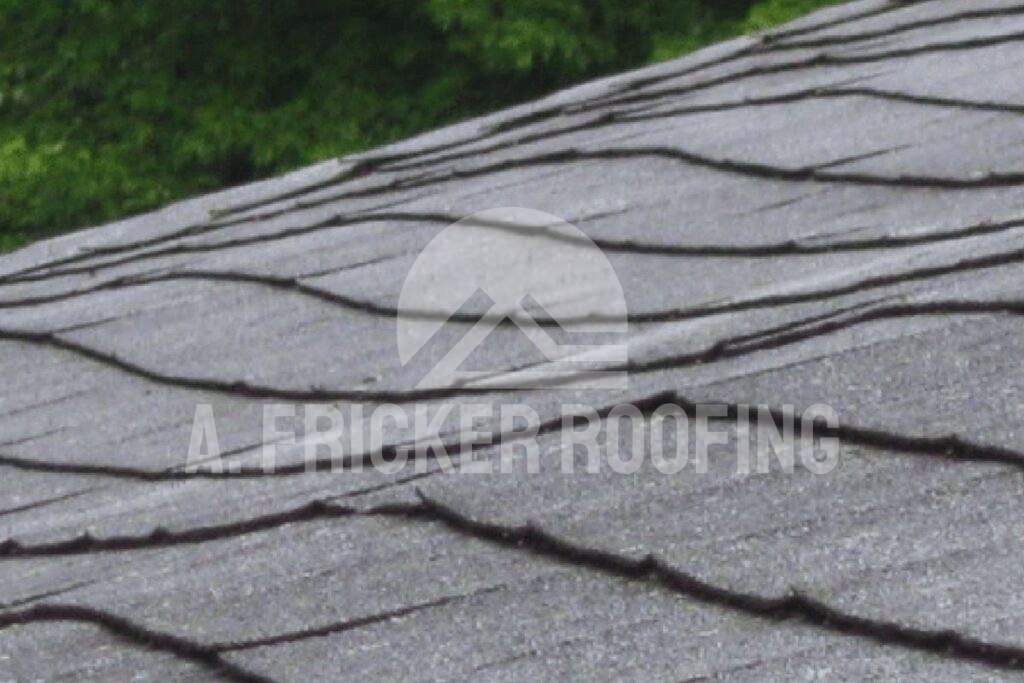
Have you ever looked up at your roof and seen a dip or sag? I know it can be quite unsettling, and your initial thought might be to replace the whole roof, but that’s not always necessary. Before you get overwhelmed by the idea, I’m here to offer an alternative.
In this blog post, I will provide a step-by-step guide on how to fix a sagging roof without entirely replacing your roof. Moreover, we’ll discuss why it’s crucial to address this issue promptly.
Why It’s Important to Address a Sagging Roof

Roofs are designed to withstand enormous pressure, they’re built tough. But when your roof starts bowing inwards – it’s a sign that something isn’t right.
A sagging roof could stem from several issues, such as aging materials losing strength over time, improper construction techniques resulting in uneven loads, or external factors like heavy snowfall causing stress on the structure. Regardless of the reason, though, one thing is clear: if left unattended, these minor dips may progress into major problems, such as structural failure or leaks during rainstorms, eventually leading to costlier roof repairs.
Therefore, addressing the problem immediately not only saves you from an exterior eyesore but also keeps your home safe by preventing possible internal damage.
Essential Tools Needed for Fixing a Sagging Roof
To address and rectify any sagging issue in your roof effectively, having the right tools on hand is essential. Gather this necessary equipment and materials before you begin:
- Hydraulic jack: This will be your primary tool to hoist the sinking parts of the roof.
- Safety equipment: This includes gloves, safety glasses, and hard hats to protect against possible accidents during the repair process.
- Ladder: Ladders with adjustable heights are preferable. You might need multiple sizes depending on how accessible the highest regions of your property are.
- Tool belt or holster: This keeps you organized by holding small tools, such as hammers and screwdrivers, that can easily get lost amid manual labor.
- Power drill: Necessary for fastening components together.
Remember that using proper equipment not only enhances the effectiveness of your repair job but also ensures safety as you attempt to fix an unstable structure like a sagging roof.
Materials Required for The Repair Job
Following up on essential tools, here are the materials required to execute this roof rehabilitation effectively.
- Lumber or plywood: These form temporary supports as well as add new structural support when needed.
- “L” channel brackets and gusset plates: They act as supplementary strengthening agents when installed correctly.
- Screws/nails/fasteners: Metal screws often retain better over time compared to nails, so some contractors opt for them whenever feasible.
- Wood glue and roof sealant: Applying these after the repair ensures a resilient and waterproof structure.
The materials you choose to fix a sagging roof might differ according to the climatic conditions and your personal preferences regarding aesthetics and budget constrictions. Regardless of the materials chosen, the primary goal is to keep your roof intact for years.
Steps to Fix a Sagging Roof Without Replacing It
Whether you’re an experienced workman or a dedicated DIY enthusiast, taking the necessary steps to repair a sagging roof can potentially save you thousands of dollars in replacement costs. But remember, it’s always recommended to call in professional help to fix your sagging roof.
Step 1: Add Temporary Supports and Bracing
The initial phase should be stabilizing the sagging area. This measure prevents further complications while arranging for more permanent solutions. Using temporary supports such as joist jacks is recommended.
For proper bracing:
- Identify where maximum sagging in your roofing system occurs.
- Position two joist jacks on either side of the damage using sturdy wood planks.
- Adjust until the tension relieves some weight from the troubled area.
Remember, safety comes first: wear protective gear, including gloves, a hard hat, and goggles, when performing this procedure.
Step 2: Reinforce a Rafter With an “L” Channel Bracket
The next step involves adding support to a compromised rafter – the main beams holding up your roofing structure. An effective way of doing this is with an “L” channel bracket.
When reinforcing your rafter:
- Drill screws into both sides of the rafter through pre-drilled holes in the bracket.
- Ensure that placing these fasteners doesn’t interfere with existing roofing nails protruding into that space.
This setup provides extra durability for your roof structure while redistributing load stress points more evenly across support beams.
Step 3: Secure the Gusset Plates for Added Strength
To grant additional structural rigidity, fix gusset plates onto your rafters wherever joints meet. These flat metal pieces have holes that allow easy fastening by nailing or screwing them into place.
Implementing gusset plates requires the following:
- Accurate location of all connecting points along your rafters
- Attachment of plates in these areas with high-strength fasteners
Step 4: Repair or Replace Damaged Roof Decking if Necessary
Before you jump to the final step, inspect for further damage. In some scenarios, you may need to repair or entirely replace sections of your roof deck.
Here’s what to do:
- Watch out for splits, rot, or areas excessively impacted by water.
- Remove and replace these pieces with roofing-grade plywood or a similar material.
This process will restore reliability and strength where original materials have been impaired.
Step 5: Apply Waterproofing Measures to Prevent Future Damage
As a finishing touch, consider applying waterproofing measures. High-quality silicone sealants act as an impenetrable barrier against moisture intrusion, hence preventing future sagging due to water damage.
Here are some tips:
- Opt for silicone products that blend with the existing roof aesthetics.
- Seal all exposed nail holes and joints where leaks are potentially more likely.
By adopting the above practices, you can save a considerable amount while still ensuring long-lasting results.
The Cost of Fixing a Sagging Roof
How much does it really cost to fix a sagging roof? The total will depend on your specific situation.
Also, it is important to note that costs can fluctuate depending on where you live, as different regions have different labor costs and material prices. That said, generally speaking for a moderate sagging roof repair job, you can expect to spend up to $1,500. For more severe cases or larger roofs, this could rise to $7,000.
Last but not least, it’s crucial to always use professional services when dealing with structural issues. DIY repairs might save some money upfront, but when improperly performed they could easily lead to even bigger headaches down the road.
It’s also a good idea to schedule regular maintenance and inspections to catch any issues early. Spotting signs of potential structural damage before any major damage is done can save you even more on repair costs.
Consider investing wisely in your property today to avoid costly repairs down the road.
Contact The Professional Roofers In Tulsa, OK, For Your Roof Repair
If you want to fix your sagging roof, contact the professional roofers at A. Fricker Roofing and Waterproofing in Tulsa, OK. The expert roofers at our company can proficiently repair your sagging roof, or replace it if necessary, ensuring the safety of your home and your loved ones. Call us today at (918) 402-7167 and consult a roofing professional.

