EPDM roofing systems have become increasingly popular in recent years, and our company has seen a significant rise in EPDM-related questions and calls. We’re not surprised, since this roofing material is favored for its durability, cost-effectiveness, and ease of installation. However, even the highest quality roofing materials can develop issues over time due to environmental factors.
Mother Nature can be pretty tough on roofing systems, and occasionally cause leaks to occur. The good news is, if you know what to look for and have the right tools, you can often spot these leaks and fix them yourself. This blog post will walk you through how to do that and more!
How To Identify Leaks On An EPDM Roof
Identifying leaks in an EPDM roof can be tricky, especially since the material is usually black, making it harder to notice points of damage. However, there are several signs you can look out for:
1. Interior Water Stains or Drips

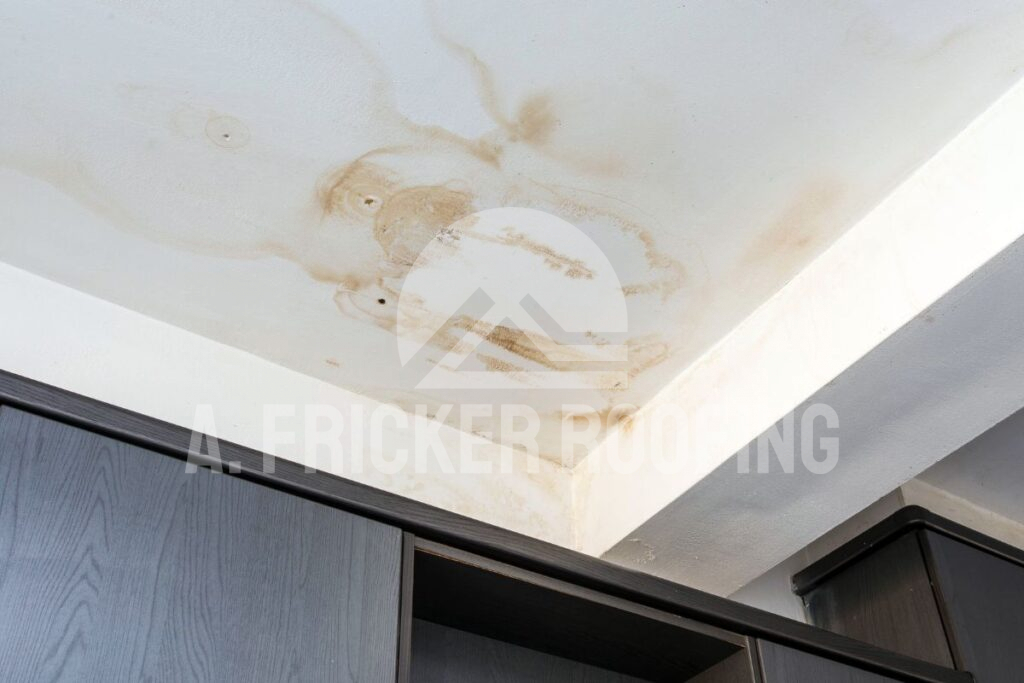
One of the most obvious signs of a roof leak is water stains or drips inside your home. If you notice brown water stains on your ceiling or walls, it’s a clear indication that water is making its way through your roof.
2. Visible Damage on the Roof’s Surface
If you suspect a leak, perform a visual inspection of your EPDM roof by looking for:
- Tears or Punctures: Your EPDM roofing system can develop tears of punctures over time. This can occur due to sharp objects, heavy foot traffic, or flying debris.
- Wrinkles or Blisters: These are often caused by improper installation or trapped moisture underneath the membrane.
- Loose Seams: Over time, the seams of the EPDM membrane can become loose, allowing water to seep through.
3. Pooling Water

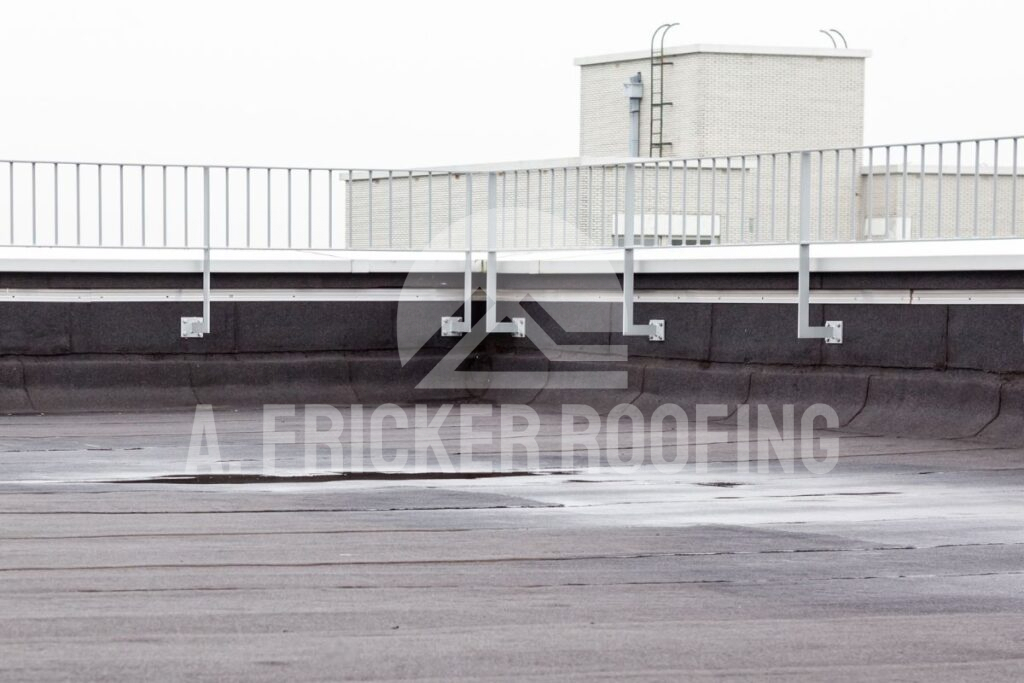
EPDM roofs are designed to be water-resistant, but they aren’t immune to the effects of standing water. If you notice water pooling on your roof after rain, it could be a sign of poor drainage or a sunken area along the roof deck, both of which can lead to leaks.
4. Mold or Mildew
Mold or mildew growth inside your home, particularly near the ceiling, is another sign that your roof might be leaking. This happens when water seeps into the building and creates a moist environment that favors mold growth.
5. An Unexplained Increase in Energy Bills
If your energy bills have spiked without a clear reason, it could be due to a roof leak. Water intrusion can compromise the insulation in your roof, making your HVAC system work harder to maintain a comfortable interior temperature.
Now that you know how to identify leaks, let’s discuss how to repair them.
Also Read: All About EPDM Roofing Accessories
How To Repair Leaks In Your EPDM Roof
If you notice one or more of the signs that we mentioned above, it is time to take immediate action. Repairing leaks in an EPDM roof is a relatively straightforward process, but it requires attention to detail and the right materials. While we provide a brief overview here, it’s always best to hire a professional for efficient service and high-quality repairs.
Preparing For Repairs
To repair your roof effectively you’ll want to gather the right materials beforehand to save you time during the process:
- EPDM roof patch (these are widely available in stores)
- Primer
- EPDM roof adhesive
- Utility knife
- Roof cleaner/broom
- Fleece tape (optional)
- Silicone roller (optional, for ensuring a smooth finish)
- Roof sealant (optional)
Inspect Your Roof
Once you have all the necessary tools for an EPDM roof repair and have made your way onto the roof, it’s time to carry out a thorough inspection. This is necessary to locate the exact source of the leak and also find out whether there are any other issues with your single-ply roofing membrane.
Clean The Damaged Area
Cleaning is a critical first step. Start by using a clean rag to remove any dirt, debris, or loose material from the area surrounding the leak. The patch will not adhere properly to a dirty surface, so take your time with this step. If necessary, use a cleaner recommended by the EPDM manufacturer.
You can typically clean your roof with the help of a cleaning solvent. But avoid a pressure washer as it can damage your roof.
Cut Away The Damaged Area:
If you have a large tear or puncture in your EPDM roof, use a utility knife to carefully trim away any loose or jagged edges. This step is crucial since it creates a smooth surface, making it easier to apply a secure patch and preventing the material from tearing further.
Apply The Primer:
After cleaning and trimming the damaged area, apply the primer in order to create a base for your roof repair. Most EPDM patch kits that are available come with a primer too, but if there isn’t, don’t worry. There are several manufacturers that offer some high-quality primers for EPDM roofs.
Use a clean cloth or brush to evenly coat the area. The primer helps the adhesive bond more effectively with the current EPDM surface, ensuring the patch adheres properly. Make sure to follow the manufacturer’s instructions, especially concerning drying times.
Cut And Apply the Patch
Once the primer has dried, cut a piece of EPDM patch material that is large enough to cover the damaged area, with at least an extra inch on all sides. Peel off the backing from the patch and carefully apply it to the primed area. Press down firmly to ensure a tight bond.
Apart from the EPDM patch, you can also use fleece-backed polyester tape. This is quite flexible and can be a great alternative to regular patching.
Roll The Patch (Optional)
For a smoother finish and better adhesion, use a silicone roller to roll over the patch. This step helps eliminate any air bubbles and ensures that the patch adheres evenly.
Check Your Work
After the patch has been applied, take a few minutes to inspect your work. Make sure the edges of the patch are fully sealed and that there are no air bubbles or wrinkles. If everything looks good, the repair is complete.
Test For Leaks
Once the patch has had time to set (check the manufacturer’s instructions for recommended curing times), you should test it for leaks. The easiest way to do this is to hose down the repaired area with water and then check inside for any signs of water intrusion.
Preventative Maintenance Tips For EPDM Roofs
To extend the life of your EPDM roof and avoid future leaks, regular maintenance is key. Here are some tips to keep your roof in top shape:
Keep the Roof Clean: Remove debris like leaves, branches, and dirt from your roof regularly. This helps prevent punctures and ensures that water drains properly.
Check and Repair Seams: Seams are a common area for leaks to occur, so pay special attention to them during inspections. If you notice any loose or deteriorating seams, repair them promptly.
Address Pooling Water: If you notice water pooling on your roof, address the issue immediately. This might involve adjusting the roof’s slope, adding more drainage systems, or installing a roof pump.
When Should You Call A Professional?
While many minor repairs can be handled by homeowners, there are times when it’s best to call in a roofing professional for EPDM roof repair. If you’re dealing with a large or complex leak, or if you’re uncomfortable working on your roof, it’s wise to seek help from a roofing contractor. Additionally, if your roof is nearing the end of its lifespan, it might be time to consider a full replacement rather than continue making repairs.
Want Expert Roof Repair Services? We Can Help!
A. Fricker Roofing & Waterproofing is the #1 roof repair company in Tulsa, OK. Over the years, our expertise has helped thousands of home and business owners get the best for their roofing systems . Our contractors have experience in not only repairing EPDM roofs but other flat roofing systems too. Contact us today at (918) 402-7167 to learn more about what we can do for you.

