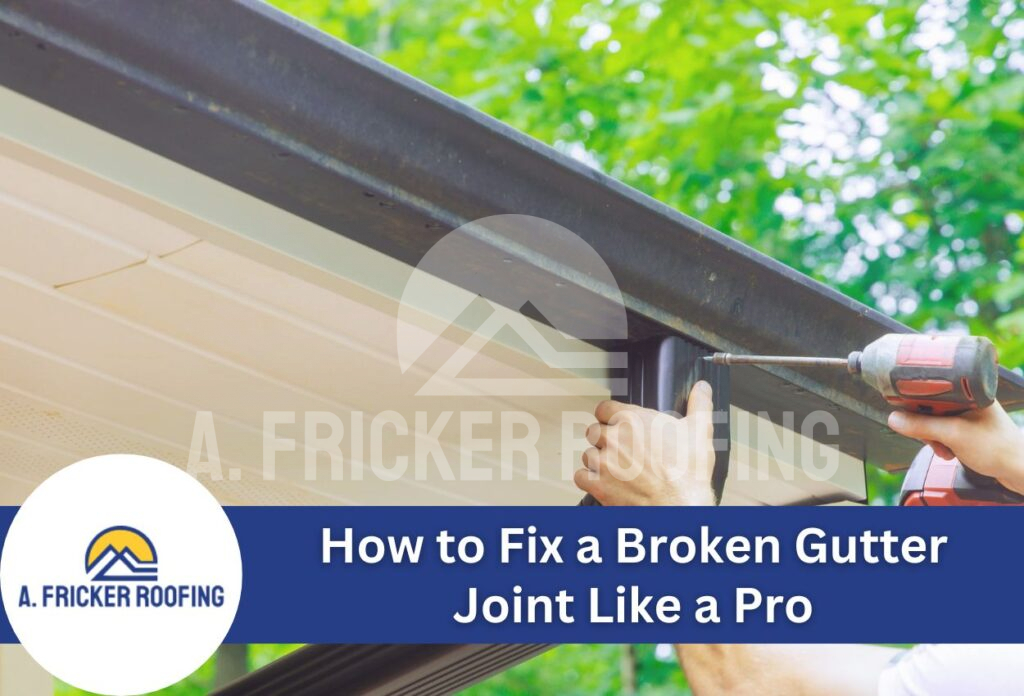
Broken gutter joints are a common yet overlooked maintenance issue that homeowners face. These critical connection points between gutter sections bear the brunt of weather exposure, thermal expansion, and the constant flow of rainwater. When gutter joint repair becomes necessary, addressing the problem quickly prevents water damage to foundations, siding, and landscaping.
Leaking gutter seams typically develop from deteriorated sealant, age-related wear, loose fasteners, or metal fatigue caused by freeze-thaw cycles. The telltale signs include water dripping from joints during rainfall, visible gaps between gutter sections, or water stains on exterior walls below the affected area. Knowing these warning signals helps property owners identify problems before minor leaks worsen.
Repairing damaged gutter connections involves cleaning the affected joint, removing old sealant, realigning sections if necessary, and applying fresh gutter sealant. Most homeowners can successfully complete basic gutter joint repairs using standard tools and materials available at hardware stores. This extends the lifespan of gutter systems while protecting homes from water-related damage that costs significantly more than preventive repairs.
Identifying Signs Your Gutter Joint Needs Immediate Attention
Recognizing early warning signs of gutter joint problems can save property owners from extensive water damage repairs. Visual indicators provide the clearest evidence that damaged gutter connections require immediate attention. Gaps between gutter sections create obvious spaces where water can escape, while rust spots around joint areas signal ongoing deterioration of metal components. Cracked or peeling sealant also indicates that repairs are needed as soon as possible.
Water damage clues often appear before homeowners notice the actual source. Staining on exterior siding below gutter joints creates telltale streaks that point directly to problem areas. Pooling water near the foundation after rainfall suggests that water is escaping from overhead connections rather than flowing properly through downspouts, while active dripping during storms signals that gutter joints have failed.
Additional warning signs include paint discoloration on fascia boards, mineral deposits on gutters, or soil erosion patterns beneath specific sections. These symptoms indicate that damaged gutter connections have been leaking for an extended period. Property owners who notice multiple indicators should immediately plan repairs to prevent structural damage. Regular inspections following severe weather help identify new problems before they compromise the entire gutter system.
Everything You Need for Professional-Quality Repairs
Successful gutter joint repair requires specific tools that ensure both safety and effectiveness throughout the repair process. A sturdy ladder with stabilizer bars provides secure access to damaged gutter connections, while work gloves protect hands from sharp metal edges and cleaning chemicals. Both flathead and Phillips head screwdrivers are needed for removing and installing various fastener types commonly found in gutter systems.
Wire brushes and putty knives can be used to remove old sealant and debris from gutter seams. Safety equipment should include non-slip shoes, safety glasses, and a tool belt to keep materials within easy reach while working at height. A caulk gun designed for exterior applications ensures proper gutter sealant application with consistent pressure and smooth lines.
The materials chosen significantly impact the longevity of gutter joint repairs. High-quality silicone or polyurethane sealants specifically formulated for exterior use provide superior adhesion and weather resistance compared to generic products. Replacement screws, rivets, or clips should match the existing hardware to maintain the structural integrity of the gutter system. Having backup fasteners and extra sealant prevents mid-project delays.
Cleaning supplies, including de-greasing agents and rags, prepare surfaces for optimal sealant adhesion. A primer may be necessary for certain sealant types or when working with dissimilar materials. These tools and materials ensure repairs meet professional standards while addressing the root causes of damaged gutter connections.
Preparing the Damaged Joint Area for Successful Repair
Thoroughly cleaning the damaged joint area creates the foundation for long-lasting gutter joint repairs. Removing deteriorated sealant begins with scraping away loose material using a putty knife or a wire brush. Old caulk often becomes brittle and peels away easily, but stubborn residue may require chemical sealant removers designed for exterior applications. Wire brushes effectively eliminate corrosion and oxidation from metal surfaces that could prevent proper adhesion of new materials.
Debris accumulation around leaking gutter seams, including leaves, dirt, and mineral deposits, can interfere with sealant bonding and should be removed. Cleaning agents specifically formulated for metal surfaces dissolve grease and grime while preparing the joint area for gutter sealant application. Thoroughly rinsing cleaned areas removes chemical residue that might compromise the integrity of new sealant materials. Cleaned areas should dry completely before beginning repairs, as moisture trapped beneath the new sealant creates weak spots that lead to premature failure.
Safety considerations are non-negotiable when working at heights to address damaged gutters. Ladders should be placed on even, stable ground to prevent accidents during the repair process. Having a helper hold the ladder provides additional security while handling tools and materials. Weather conditions should be dry with minimal wind to ensure safe working conditions and complete sealant curing.
These essential preparation steps support durable gutter joint repairs that withstand seasonal weather variations and thermal expansion.
Step-by-Step Gutter Joint Repair Process for Lasting Results
The first step in repairing separated gutter joints is carefully aligning the sections to restore their original configuration. Positioning the joints requires gentle manipulation to avoid creating stress points that could lead to future failures. Each section should maintain the proper slope toward downspouts and overlap correctly at connection points.
Broken gutter joints often need new fasteners, and the right ones depend on the gutter material and joint design. Common fastener options include self-tapping screws, pop rivets, or specialized gutter clips. Installing fasteners requires steady pressure to achieve proper tension without over-tightening, which can distort gutter sections or create new stress concentrations. Each fastener should penetrate both pieces of material adequately to provide structural support under normal weather loads.
After the new fasteners are installed, new gutter sealant is applied over the entire joint area, extending slightly beyond the edges to create effective barriers against moisture intrusion. Applying a consistent bead prevents thin spots that allow water penetration while avoiding excess that can trap debris. Tooling the sealant bead after application removes air bubbles and creates smooth transitions between sections.
Curing time varies based on temperature, humidity, and sealant type, with most products requiring several hours of dry conditions for maximum effectiveness. Avoiding exposure to moisture during the initial curing phase ensures optimal bond strength and longevity of the completed repair.
By realigning sections, installing new fasteners, and applying sealant, homeowners can fix gutter joints and restore their drainage system.
Testing Your Repair and Ensuring Proper Water Flow
Verifying the effectiveness of completed gutter joint repair work requires testing that simulates real-world conditions. Water testing is a reliable way to check repair quality by revealing any remaining leaks in previously damaged gutter connections. Using a garden hose to direct water flow through the repaired section allows you to monitor how well the new gutter sealant performs under actual flowing conditions. Starting with low water pressure and gradually increasing the flow rate helps identify potential weak spots before they become problematic during heavy rainfall.
Visual inspections complement water testing by examining the structural integrity of the repair area. Checking the alignment between gutter sections ensures that water flows smoothly without creating turbulence that could stress the newly sealed joint. Observing the sealant during water testing reveals whether the material maintains its seal under pressure and flow conditions common during storms.
Adjusting gutter slope after completing joint repairs optimizes drainage and prevents water pooling that could compromise the repair work. Using a level to verify the pitch toward downspouts creates adequate water movement while preventing backflow that stresses gutter seams. Minor slope adjustments may require repositioning hangers or brackets to achieve the recommended 1/4-inch drop per 10 feet of gutter run. Proper alignment reduces stress on repaired connections while improving overall system efficiency.
These final gutter maintenance tips help ensure that completed repairs provide lasting protection against water damage while maintaining optimal drainage throughout the seasons ahead.
Maintenance Tips to Avoid Future Joint Problems
Routine care is the best way to prevent minor gutter joint issues from needing expensive repairs. Property owners should examine their gutters during spring and fall when thermal expansion creates the most stress on gutter connections. Inspections during these seasonal checkups reveal early signs of sealant deterioration, loose fasteners, or alignment problems that compromise joint integrity. Checking for debris accumulation around connection points helps identify areas where standing water might accelerate the deterioration of sealing materials.
Early warning indicators include hairline cracks in sealant beads, slight separation between gutter sections, or minor discoloration around joint areas. Addressing these symptoms immediately prevents the need for extensive gutter joint repairs later. Seasonal cleaning removes organic matter that retains moisture against metal surfaces, reducing corrosion that weakens connection points over time.
Along with inspections, simple maintenance practices extend the lifespan of gutter systems significantly beyond their expected service life. Applying fresh gutter sealant every few years maintains water-tight connections regardless of visible wear signs. Professional-grade sealants offer superior longevity compared to basic hardware store options, making them worthwhile investments for long-term protection. Tightening fasteners annually prevents joint separation caused by thermal cycling and wind stress, while clearing downspouts ensures sufficient drainage that reduces hydrostatic pressure against gutter seams.
These proactive gutter maintenance tips protect properties from damage caused by broken gutter joints while minimizing the risk of expensive emergency repairs.
Expert Gutter Joint Repair in Tulsa with A. Fricker Roofing and Waterproofing
If you’ve noticed signs of wear or damage on your gutter joints, don’t wait for the problem to worsen and cause extensive damage to your property. A. Fricker Roofing and Waterproofing specializes in fixing broken gutter joints, ensuring your home is protected from potential water damage. Our team uses the best tools and materials for long-lasting results, adhering to the highest safety and quality standards.
Delaying gutter joint repair can lead to serious issues such as foundation damage and landscape erosion. Call A. Fricker Roofing and Waterproofing today at (918) 402-7167 to schedule a professional assessment and repair service. Ensure your gutter system functions perfectly, channeling water away efficiently and protecting your home.