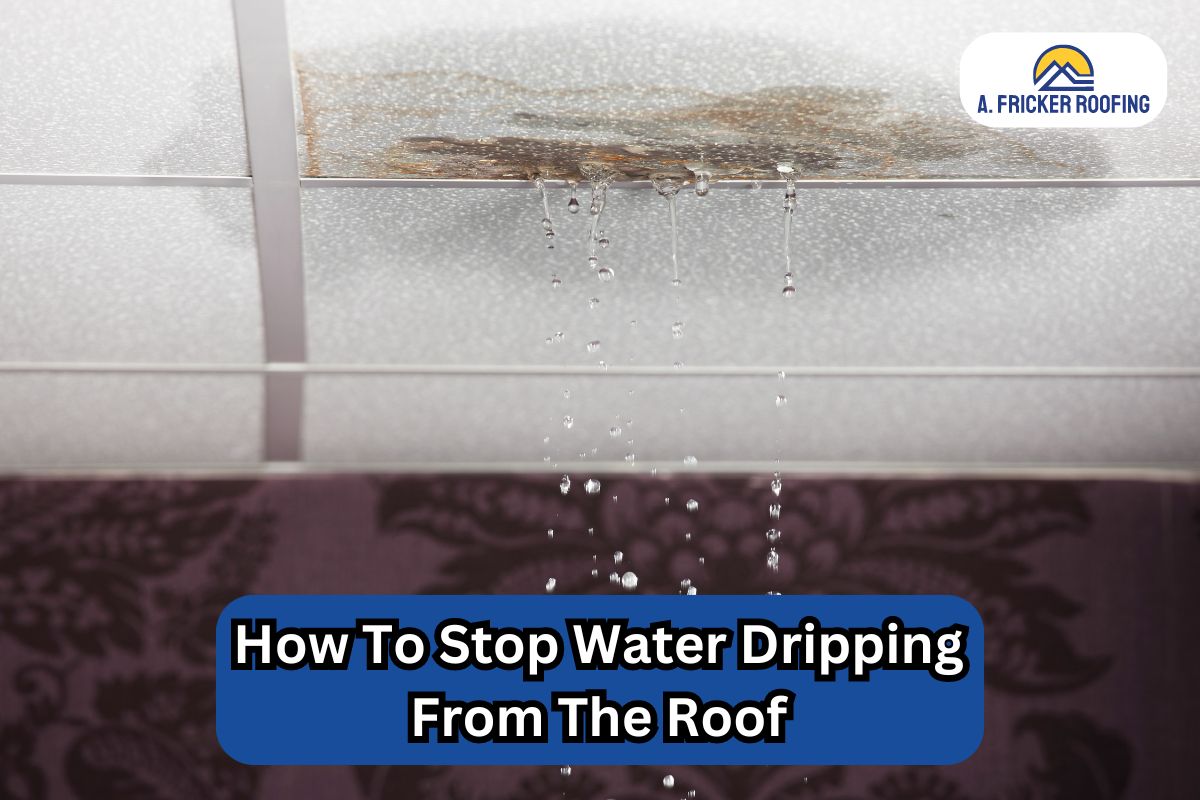
The calming atmosphere that a rainy day brings to some can take a turn for the worse when water begins to drip down from the roof. While this is normal during heavy rain, it becomes a problem if the dripping continues long after the rain has stopped.
This is not only annoying, but persistent dripping often signals a roofing leak that needs attention. If you have faced something like this before and want to make yourself better prepared during this rainy season, this blog post will help you out.
Understanding the Causes of Roof Leaks

Before you can fix a leaking roof, it’s crucial to understand what might be causing the problem. Common causes include:
Damaged or Missing Shingles: High winds, heavy rains, and storms can cause shingles to crack or blow away. When shingles go missing, the underlying layers of your roof are exposed, giving water an easy entry into your home.
Clogged Gutters: Leaves and debris can block water flow. When rainwater has nowhere to go, it starts to seep under the roofing shingles.
Broken Flashing: Flashing seals the areas where the roof meets vertical surfaces, and damage in these areas can lead to leaks.
Skylight Issues: Improper installation or worn seals around skylights can cause water intake.
Vent Boot Failure: The rubber seals around vents can deteriorate over time, allowing water in when it’s meant to be kept out.
Identifying the Source of the Leak
With many causes behind a leak, finding the exact spot where water is entering can be tricky. Here’s how to locate the source:
Interior Check:
Examine your attic during the day and look for areas where sunlight peeks through the roof deck, or for water stains and mold. Damp insulation is another sign that a leak has developed, which will also affect your roof’s ability to retain heat. If necessary, use a flashlight to spot the wet areas and trace these back to find the highest point of the leak, which is usually where the water is entering from.
Exterior Check:
Use binoculars to inspect your roof safely from the ground. Look for missing shingles, or other visible issues that were mentioned above. Pay attention to areas such as chimneys, vents, and skylights, and ensure that there are no visible cracks, gaps, or damaged flashing around these areas.
Check the gutters for any debris, and clear out any leaves, twigs, or anything else that might be obstructing the flow of water. The gutter should also be securely fastened and checked for any rust or holes. By thoroughly inspecting these areas, you’ll identify potential problems that could be causing the leak.
How Do You Repair A Leaking Roof?
Now that you know how to spot the source of water dripping down from your roof, it’s time to get the right tools and start the repairs. Since this will involve climbing up on the roof and working from heights, we advise you to be careful and only do the job if you have experience. For the best results, it’s a good idea to contact a professional contractor to handle the job for you.
Tools You’ll Need
- Ladder
- Safety harness
- Hammer and roofing nails
- Caulking gun
- Utility knife
- Wire brush
- Tape measure
- Garden hose
- Seal and Patch Leaks
Over time, due to harsh weather and normal wear and tear, gaps start to develop on your roof. These gaps and cracks can be seen between shingles or other areas such as the chimney and vents.
Once you’ve identified potential problem areas, it’s crucial to seal these gaps. Here are the steps involved in sealing the source of the leak:
- Start by cleaning the area around the leak thoroughly by using a wire brush to remove debris and ensure a clean surface.
- Apply a high-quality roofing sealant or patching compound directly to the leak. For small cracks or holes, a sealant will suffice, but for larger issues, you might need a patching kit.
- Press the material firmly into the damaged area, ensuring complete coverage.
- Smooth out the sealant or patch to avoid any gaps.
- Allow it to dry according to the manufacturer’s instructions.
Check out our list of the top roof sealants for more information.
Replace Damaged Shingles
Another common reason behind why water would drip from the roof is that the shingle itself is damaged.
Remove The Damaged Shingles
Gently lift the edges of the shingle above the damaged one using a flat pry bar. You’ll see nails at the top of the damaged shingle. Carefully remove these nails with the pry bar and slide the shingle out of place.
Slide In The New Shingle:
Take your new shingle (you should have extra replacement shingles that match your roof) and slide it into place. Line it up carefully with the shingles on either side.
Nail It Down:
Once the new shingle is in position, secure it with roofing nails. Place nails near the top corners and in the middle, about an inch from the top edge.
Seal The Shingle:
To give your repair extra staying power, apply a dab of roofing cement under the corners of the new shingle and the ones above it. This helps prevent wind from lifting the edges up and causing damage.
Remember, if you’re not comfortable on a ladder or if your roof is very steep, it’s always best to call a professional.
Repairing Flashing
Roof flashing is a piece of metal that is used to cover the edges, and other vulnerable areas of your roof such as the perimeter of chimneys and skylights, or the area where the wall meets the roof. Due to weathering, flashing deteriorates easily, and in most cases you will need to replace the flashing completely as repairs will not offer much help.
Here is how to repair flashing:
- Remove Old Flashing: A part of flashing is installed underneath the shingles so before you move ahead, you need to carefully lift up the surrounding shingles to remove the damaged flashing.
- Install New Flashing: Cut the new flashing to size and secure it with roofing nails. After replacing the flashing, install the shingles back in place.
- Seal: Apply a bead of roofing sealant along the edges of the flashing for more protection.
Use A Water Test
After you’ve replaced shingles or sealed any leaks or gaps in your roof, it’s time to ensure that the leak is fully repaired by using a water test. Use a hose to gently allow water to run over the surface of the newly repaired leak. Have someone inside to check that water isn’t still dripping through the roof to confirm that the repair was a success.
Maintain Regular Roof Inspections
Regular roof inspections are crucial to catching potential problems before they become expensive repairs. By scheduling inspections at least twice a year, you can identify minor issues like loose shingles, cracked flashing, or clogged gutters before they escalate.
Hire The Pros At A. Fricker Roofing and Waterproofing
Stopping water from dripping through your roof is essential for maintaining the integrity of your home. That’s what also makes it essential to hire a professional team to repair roof leaks if you find water coming through your roof.
At A.Fricker Roofing and Waterproofing, we have years of experience and knowledge that help us repair every kind of roof leak. Whether you want to repair a few shingles or replace an entire roof, you can put your trust in our expert roofers. Contact us today at (918) 402-7167 to learn more about how we can help you.

